Know what you are measuring
A seam allowance is the distance between the cut edge of a fabric piece and the line of stitching that joins it to another piece. A consistent allowance helps the finished piece match its intended size. If the stitching drifts toward or away from the edge, a panel may end up narrower or wider than planned, even when its pieces were cut correctly.
Check the instructions for your project before you start. Different patterns use different allowances, and a project may call for more than one. Do not assume that the width you used on a previous project is right for this one. If you are sewing without a pattern, choose an allowance that leaves enough fabric beside the stitching for the fabric and construction method you plan to use. Write down your choice so you can repeat it throughout the project.
Prepare the fabric and machine
Accurate stitching starts with an accurate edge. Press wrinkled fabric before cutting, and cut as carefully as you can. If the edge is uneven, following it precisely will still produce an uneven seam. Place the fabric pieces together as the project directs, align their cut edges, and pin or clip them where they are likely to shift. Keep pins out of the needle’s path and remove them as you sew.
Choose the stitch and needle suited to your fabric, then test them on scraps from the project. Set the machine for a straight stitch if that is what the seam requires. Before using a presser-foot edge as your guide, measure from the needle position to that edge: it may not match your chosen allowance. Needle positions, feet, and machine markings vary, so confirm the distance with a ruler rather than relying on appearance.
Give the fabric a guide to follow
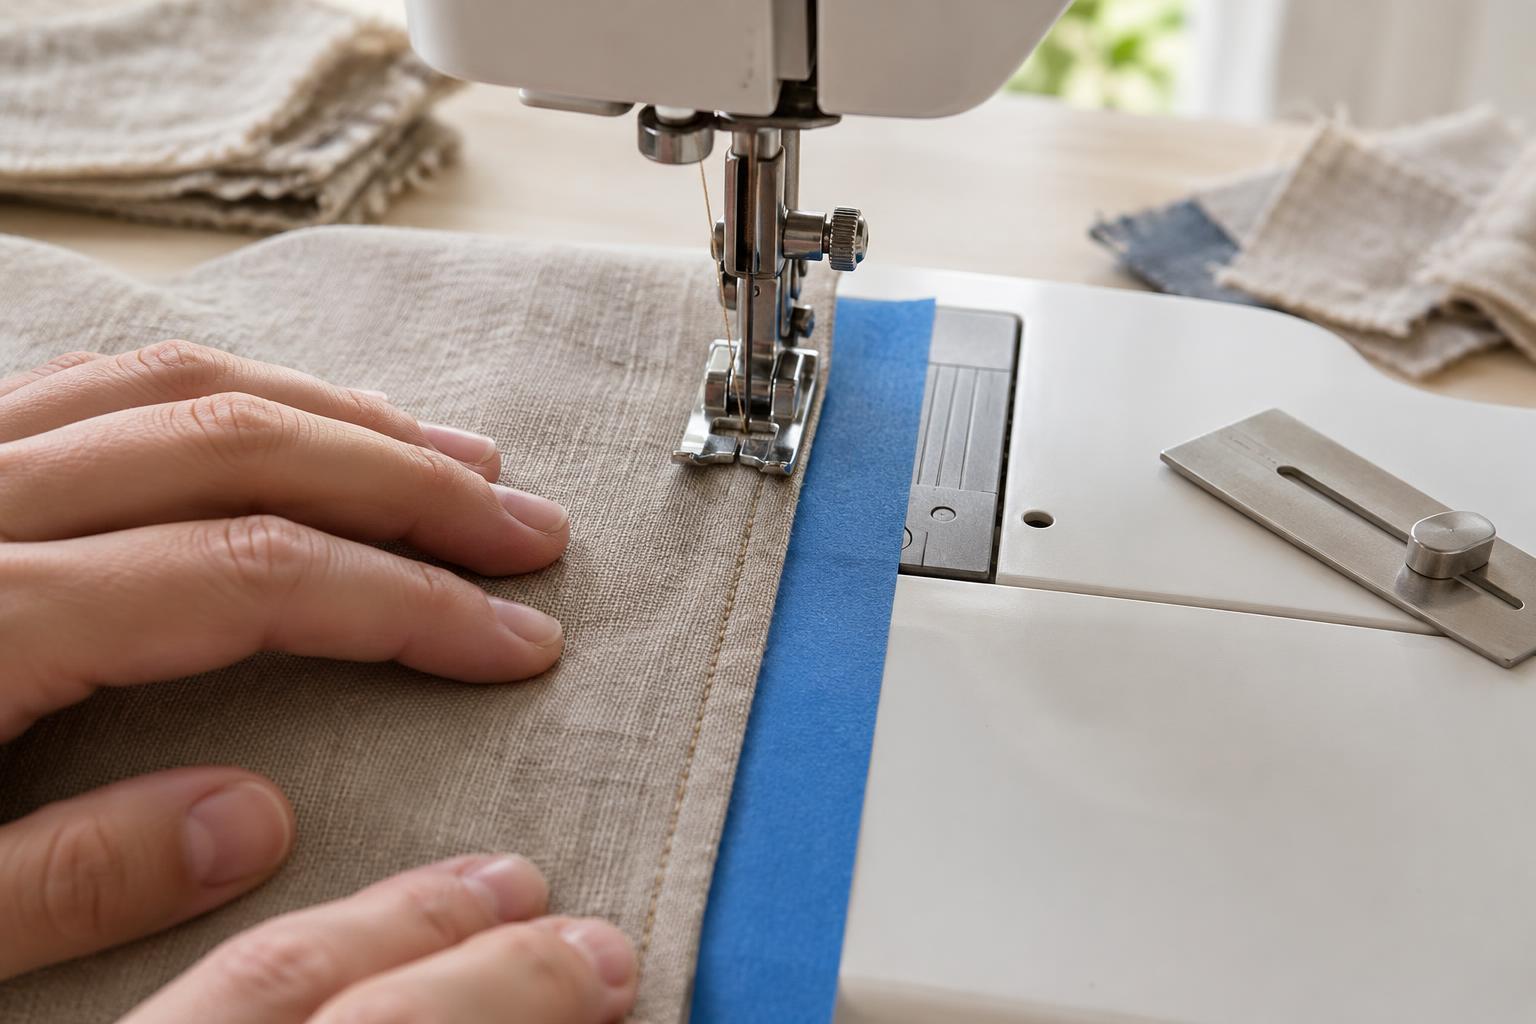
Many sewing machines have seam-width markings on the needle plate. Find the marking that matches your allowance and keep the fabric’s cut edge aligned with it as you sew. Look at the edge where it meets the guide, rather than watching the needle the whole time. Feed the fabric at an even pace and let the machine move it; pulling from behind or pushing from the front can change the stitch length or steer the seam.
If the marking is hard to see or the required width is not marked, place a strip of removable tape on the machine bed as a visual guide. Measure its position from the needle with the machine switched off, and keep tape clear of moving parts. An adjustable seam guide can serve the same purpose. Sew a short test seam on two scraps, then measure from the cut edge to the stitches at several points. Move the guide if the result is not the width you intended.
Handle curves and corners deliberately
On a straight seam, keep your attention on the edge and make small corrections before the fabric drifts far from the guide. For a curve, slow down and rotate the fabric gradually as it feeds. The cut edge may not stay parallel to a long straight marking, so watch the distance between the edge and needle more closely. On a tight curve, pause with the needle down, lift the presser foot, turn the fabric a little, and lower the foot before continuing. Avoid making so many sharp turns that the stitching becomes jagged.
For a corner, mark the point where you need to turn if the plate markings will not make it obvious. Sew to that point, stop with the needle down, lift the presser foot, pivot the fabric, and align the next edge with your guide. Lower the foot and continue. When joining two pieces, check that both layers remain aligned; the upper layer can creep ahead of the lower one, particularly on long seams or slippery fabric.
Check your work and correct drift
After sewing a seam, measure the allowance in a few places before trimming or finishing its raw edges. Press the seam as your project requires, then check how the joined pieces fit. A small variation may be harmless in a loose decorative project but noticeable where several seams must line up. Checking early is easier than discovering a size difference after more pieces have been attached.
If your seam wanders, identify the cause before sewing it again. An uneven cut edge calls for more careful cutting; fabric that slips may need more pins or clips; and a hard-to-see marking may call for a clearer guide. Practise on scraps, aiming to follow the guide without tugging the fabric. If a seam is far from the required width, carefully remove the stitches and resew it while enough fabric remains. Consistency improves when you use the same measured setup and check it whenever you change the foot or needle position.


