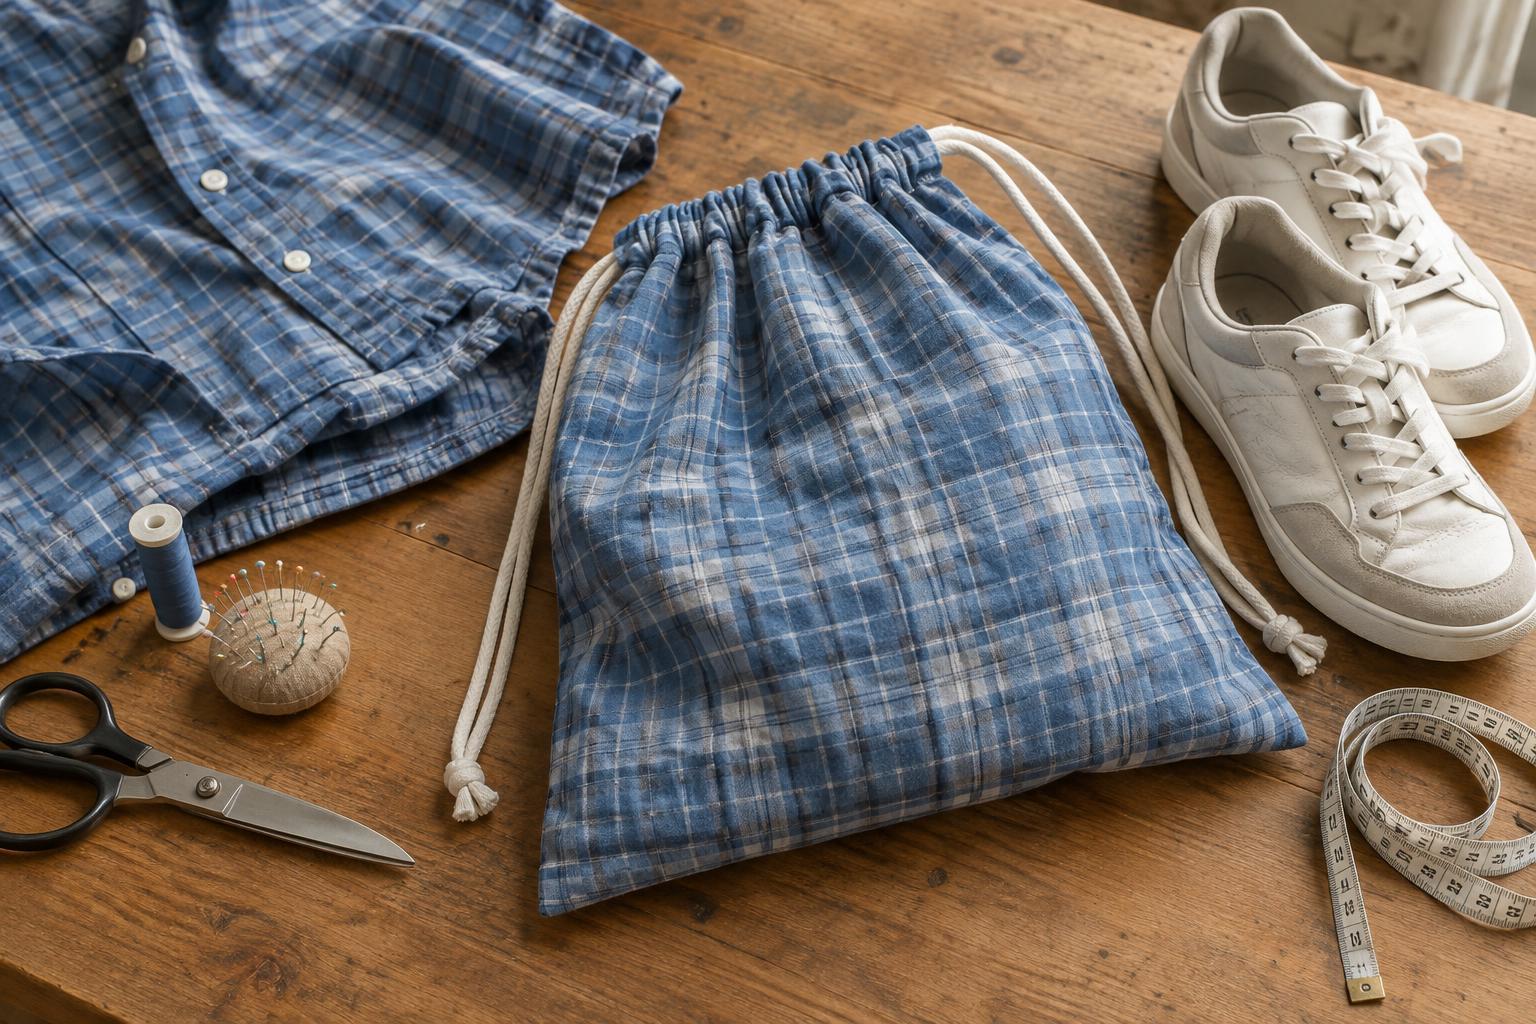
Choose the right shirt and plan the size
A drawstring bag can keep a pair of shoes separate from clothes in a suitcase or give clean shoes a place to live in a cupboard. A worn button-up shirt is a useful source of fabric, especially when its broad back panel is still sound. Choose a shirt that has been washed and dried. Hold the fabric up to the light to spot thin areas, and avoid placing stains, holes or heavily worn patches in the bag’s base.
Cotton or cotton-blend shirting is easy to cut and sew, though a very thin shirt may need a second layer if the shoes are heavy. The example below starts with a rectangle about 40 cm wide and 90 cm long. Folded in half, it makes a bag roughly 38 cm wide and 42 cm tall after seams and the drawstring casing. Measure the shoes first and adjust the rectangle if needed, leaving room for seams and an easy fit. For a large pair, use two panels cut from different parts of the shirt instead of forcing a small back panel to work.
Gather supplies and cut the fabric
You will need fabric scissors, a ruler or tape measure, pins or clips, thread, a sewing machine or hand-sewing needle, and a safety pin. For the drawstring, use a washable cord, sturdy ribbon or a narrow strip of shirt fabric sewn into a tie. Make the drawstring long enough to pass through both top casings with ends left over to tie comfortably; you can trim it after threading.
Lay the shirt flat and cut away the back panel, staying clear of the collar, curved hem and side seams. Square up the fabric before measuring your rectangle: a straight edge helps the bag hang evenly. If you are working with striped or patterned fabric, check that the pattern runs the way you want before cutting. Save sound offcuts for patches or a fabric drawstring.
Sew the casings and side seams
Place the rectangle wrong side up with a short edge at the top. Fold that edge to the wrong side by about 1 cm, then fold it again by 3 cm. Press or pin the folds and stitch close to the lower folded edge, creating a channel. Repeat at the other short edge. These two finished edges will become the bag opening when you fold the rectangle in half. If sewing by hand, use small, even stitches and secure the thread at both ends.
Fold the rectangle in half with right sides together and the two casings aligned at the top. Pin the sides, then sew each side from the bottom fold upward, stopping just below the casings. Use a seam allowance of about 1 cm and backstitch at the top of each seam. Do not sew across the ends of the casings: the drawstring needs an opening. Trim loose threads, then finish the side seam allowances with a zigzag stitch or by turning the raw edges under and stitching them down. Turn the bag right side out and gently push out the bottom corners.
Thread the drawstring and check the finish
Attach a safety pin to one end of the cord. Feed it through the first casing, around the far side opening and back through the second casing, so both ends emerge on the same side of the bag. Remove the pin and knot the cord ends separately or together to keep them from slipping inside. Pull the ends to test the closure. If the fabric bunches unevenly, ease it along the cord rather than pulling harder.
Check the side seams with the shoes inside before relying on the bag. If the fabric strains near the bottom corners, add a second line of stitching beside each side seam or choose a roomier size next time. Keep damp or muddy shoes out of the bag until they have been cleaned and dried; ordinary shirting is not a moisture barrier. When the bag needs washing, follow the care needs of the shirt fabric and let it dry fully before storing shoes in it.


