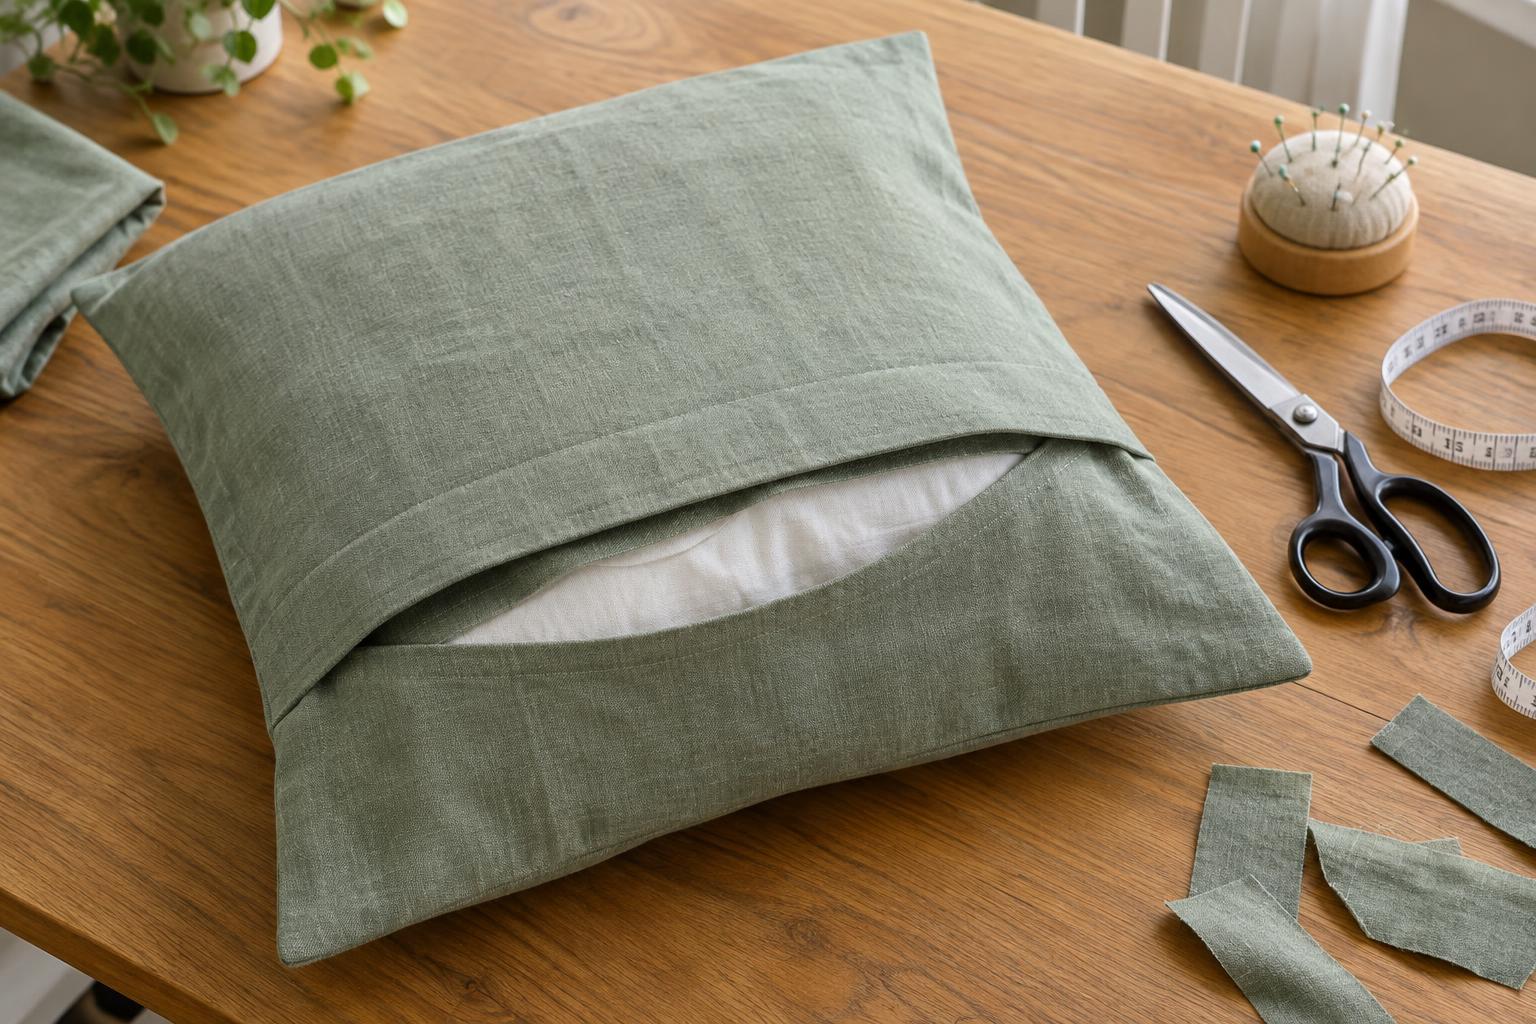
Why choose an envelope back?
An envelope-back cushion cover has two fabric panels that overlap at the back. The opening lets you slip a cushion insert in and out without fitting a zip or making buttonholes. It is a useful first sewing project because the pieces are rectangular and the stitching is mostly straight.
Choose a woven fabric that feels suitable for the cushion’s intended use. Cotton is easy to cut and press; a sturdier furnishing fabric may hold its shape better on a frequently used sofa. If the fabric is washable, wash and dry it before cutting so later shrinkage is less likely to change the fit. Press out wrinkles before measuring.
Measure and cut the fabric
Measure the cushion insert across its width and height. For a straightforward fit, make the finished cover the same size as the insert. Use a 1 cm seam allowance on every outer edge. If your insert is 40 cm square, cut one front piece measuring 42 × 42 cm.
For the back, cut two equal panels, each 42 × 28 cm. These measurements allow for a 10 cm overlap, a 1 cm outer seam and a double-fold hem made with two 1 cm folds on each opening edge. For a different square size, add 2 cm to the insert measurement for the front’s width and height. Make each back panel the same width as the front; its height is half the insert height, plus 5 cm for its share of the overlap, plus 1 cm for the outer seam and 2 cm for the hem.
Mark measurements on the wrong side of the fabric and cut along straight lines. If the fabric has a directional print, check which way the design will face on all three pieces before cutting. A ruler and fabric scissors or a rotary cutter and mat can help keep the edges square.
Hem the two opening edges
On one long edge of each back panel, fold 1 cm of fabric toward the wrong side and press. Fold the same edge over by another 1 cm, press again and pin or clip it in place. The raw edge should now be enclosed. Stitch close to the inner fold, removing pins as you sew.
Pressing before stitching helps prevent a wavy opening. If the fabric is bulky, test the double fold on a scrap first; a narrower hem may lie flatter, but you will need to adjust your cutting measurements accordingly. Sew slowly near the ends of each hem so the layers do not shift.
Assemble and stitch the cover
Lay the front piece right side up. Place one back panel on top of it, right side down, with its unhemmed long edge aligned with the top edge of the front. Place the second back panel right side down, aligning its unhemmed long edge with the bottom edge of the front. Their hemmed edges should overlap near the middle. Check that the outer edges of all three pieces line up, then pin or clip around the perimeter.
Sew all four sides with a 1 cm seam allowance. Sew a few stitches backward and forward at the start and end to secure the seam. At each corner, stop with the needle down, lift the presser foot, turn the fabric and continue. If your fabric frays readily, finish the raw seam allowances with a zigzag stitch after sewing, or use another edge finish available on your machine.
Trim excess fabric from the corners without cutting into the stitching. Turn the cover right side out through the envelope opening, gently push out the corners and press the edges flat. Insert the cushion, then smooth the filling into the corners.
Check the fit and improve the finish
If the cover looks uneven, check that the insert is fully seated before changing the seams. A loose fit can sometimes be improved by sewing slightly farther inside the existing outer seams. If the cover is too tight, check your seam allowances and measurements; there may be little room to enlarge it without recutting.
A back opening that gapes may not have enough overlap, or the fabric may be pulling because the cover is too small. For a future cover, increase the back-panel height to create a deeper overlap. Keep the two panels equal, and remember to include both the hem allowance and the outer seam allowance when you cut them. Once the fit is right, a final press gives the cover crisp edges and a tidy opening.


