Choose materials that suit the garment
Before sewing, look at the button and the fabric it will sit on. A small shirt button on lightweight cotton needs less bulk than a coat button on thick wool. Choose a hand-sewing needle that passes easily through the fabric and buttonholes. All-purpose polyester thread works for many garments; for a heavy coat, a stronger thread or doubled strand may be useful. If you double the thread, keep the strands smooth so they do not twist into knots.
You will also need scissors and, for a flat button, a toothpick, matchstick, or spare needle to use as a temporary spacer. If the fabric is thin, worn, or stretched around the old button position, place a small piece of matching fabric or lightweight interfacing behind it. This reinforcement helps spread the strain instead of concentrating it in one weak spot.
Prepare the button position
Remove loose old thread without cutting the garment. If you are replacing a missing button, use the remaining stitch holes as a guide, then check the position against the buttonhole while the garment lies flat. For a row of buttons, compare the spacing with the buttons above and below. The button should meet the buttonhole naturally; sewing it too far to one side can pull the opening out of shape.
Cut a manageable length of thread, about the distance from your hand to your elbow. Very long thread is more likely to tangle as you work. Thread the needle and tie a small knot at the end. Start from the back of the fabric, taking one or two short stitches through the button position or reinforcement before adding the button. These first stitches give you an anchor without relying only on a knot.
Sew a flat button without pulling it too tight
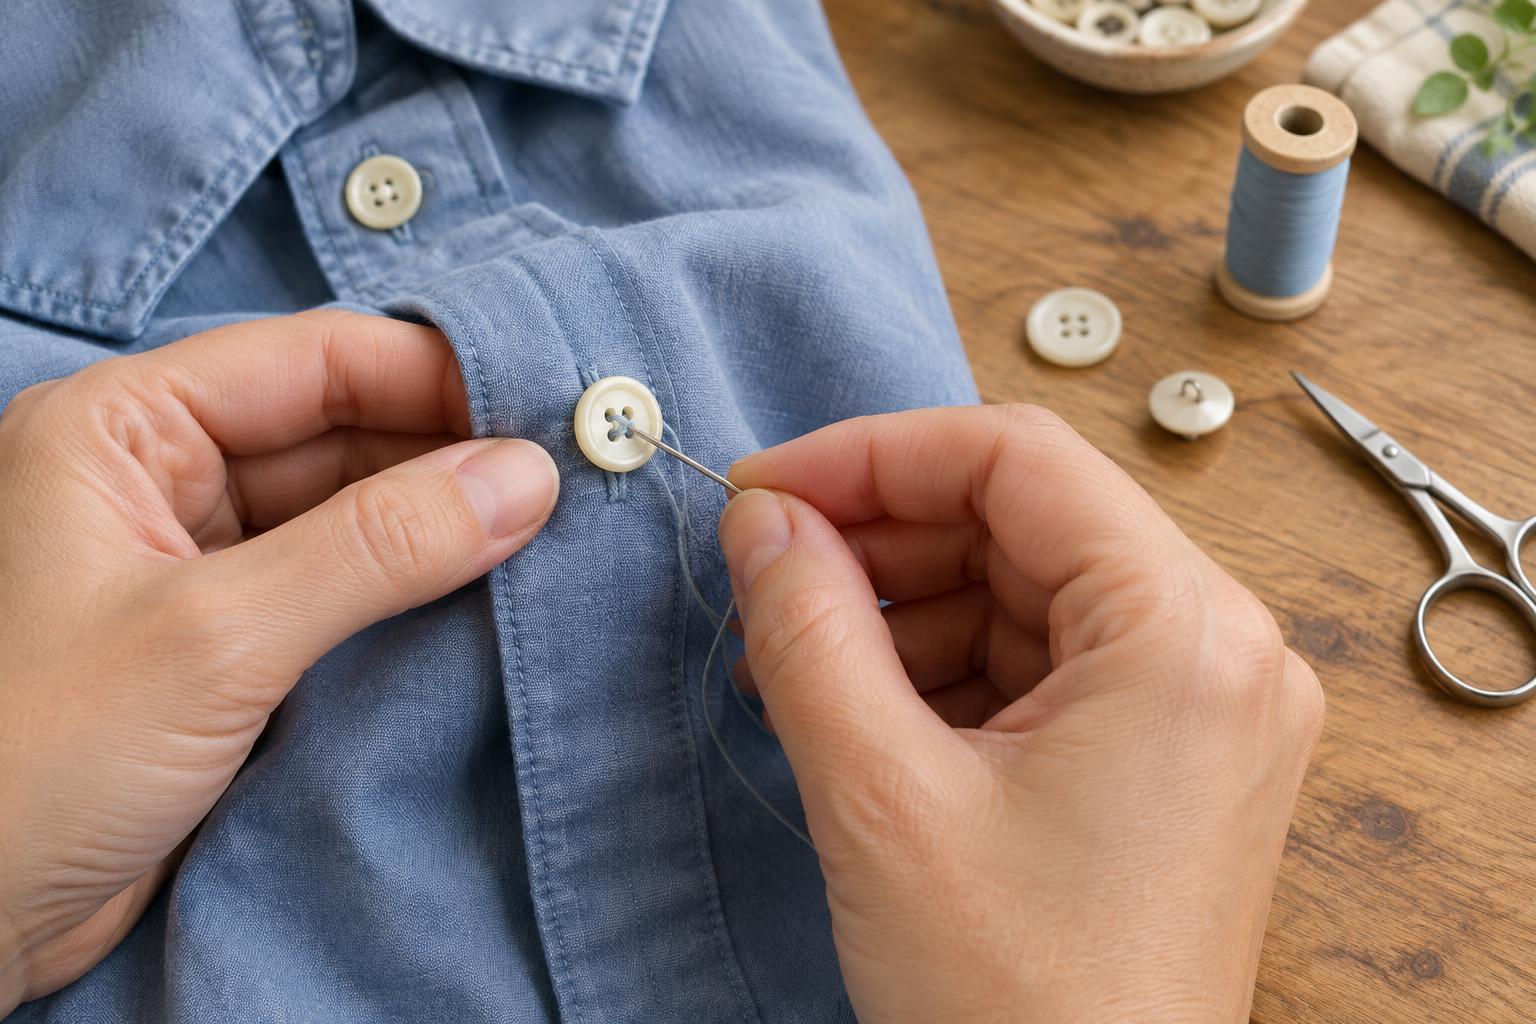
A flat button has two or four holes. Bring the needle up through the fabric and one hole, then down through another hole and the fabric. Place your spacer across the top of the button, between the holes you are sewing through. As you repeat the stitches, let the thread rest over the spacer rather than drawing the button hard against the cloth. Leave enough space underneath for the buttonhole fabric, especially on thicker garments.
For a two-hole button, repeat the same path several times. For a four-hole button, stitch through one pair of holes and then the other, either in parallel lines or a cross. Match nearby buttons if you want the finish to look consistent. Aim for firm, even stitches, but do not keep adding thread until the holes are crowded. Excess thread can make the button sit crooked and may rub against the buttonhole.
Remove the spacer. Bring the needle up beneath the button, but not through a hole, and wrap the thread around the stitches between the button and fabric a few times. This creates a short thread shank. Pass the needle to the back of the garment and secure the thread with two small stitches or a knot caught in the existing stitches. Trim the tail without cutting the knot.
Attach a button with a built-in shank
A shank button has a loop or stem on its back instead of holes on its face. Hold the button in position and pass the needle through the fabric and the shank loop, then back through the fabric. Repeat until the button feels secure. The built-in shank already provides space for the buttonhole, so you usually do not need a spacer or a wrapped thread shank.
Try to keep the stitches within a small area beneath the button, and check that the button can still move slightly. For a thick coat or a button that takes frequent strain, a small plain button sewn on the inside at the same time can help distribute the pull. Pass the needle through the outer button, fabric, and inner button as you stitch, then fasten off securely on the inside.
Check the fastening and avoid common mistakes
Button the garment before declaring the repair finished. The button should slip through its hole without forcing, and the fabric should lie reasonably flat when fastened. If the button is difficult to close, the thread shank may be too short. If it droops or twists excessively, the stitches may be too loose or the shank too long. It is usually better to redo a few stitches now than wait for the button to come off.
The most common mistakes are placing the button without checking the buttonhole, pulling every stitch as tight as possible, and fastening off with only a single loose knot. A neat repair makes room for the fabric, supports any weakened area, and ends with thread secured on the back. Give the button a gentle tug after sewing; it should hold firmly without puckering the garment.


