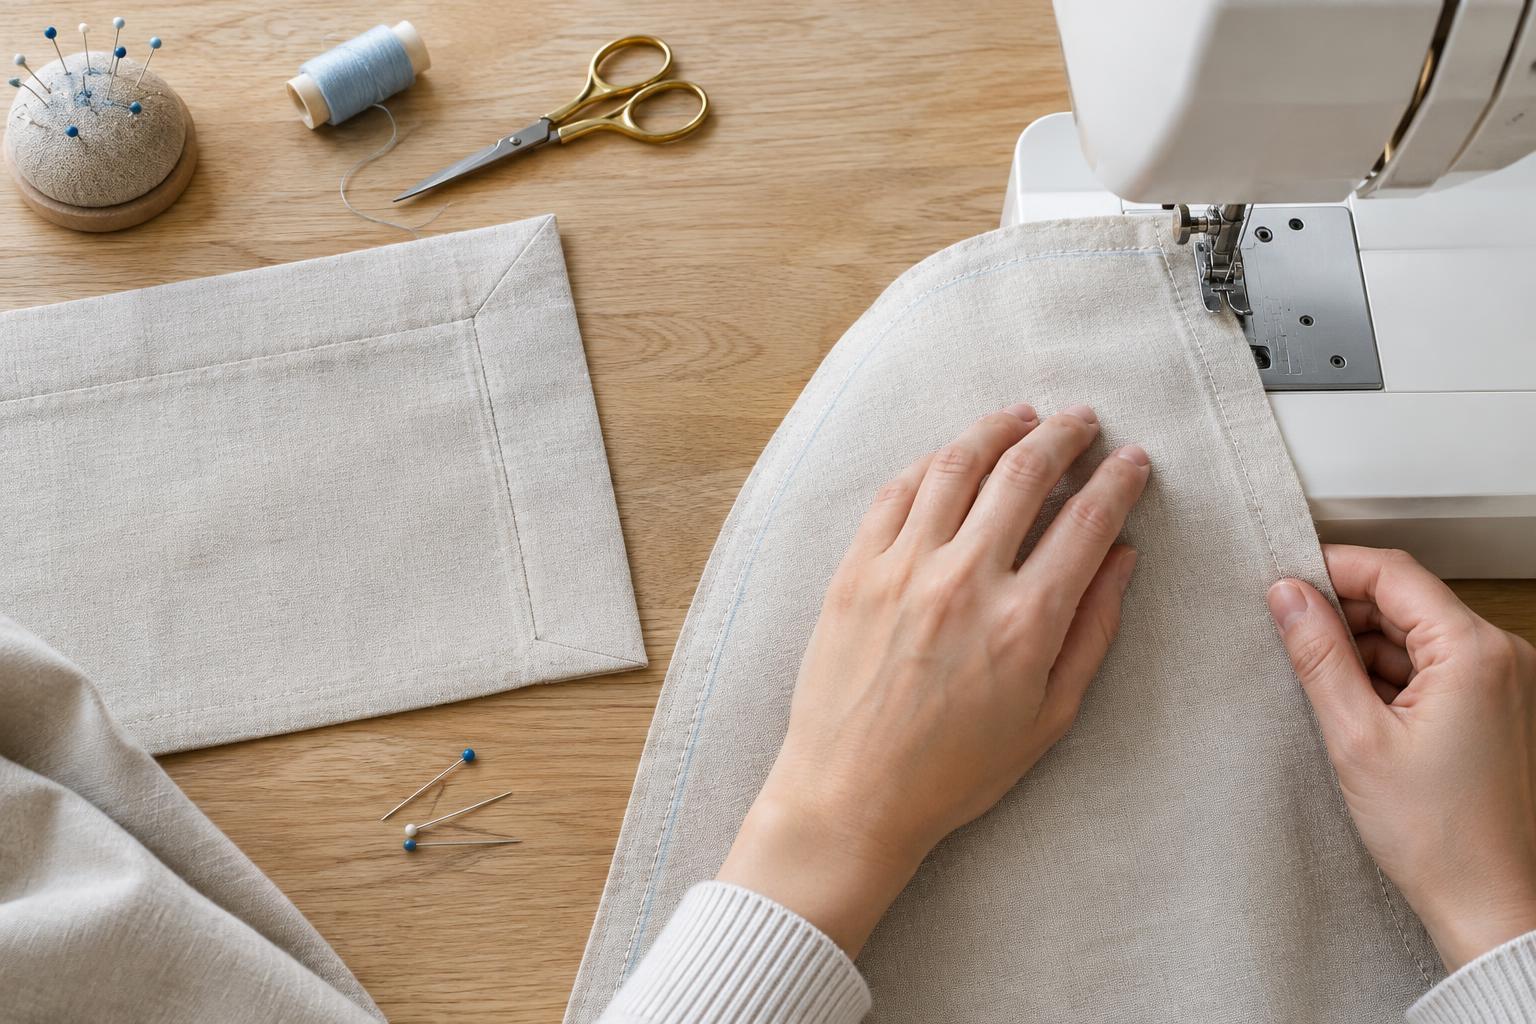
Prepare the fabric and mark the stitching line
Smooth curves and sharp corners begin before the fabric reaches the sewing machine. Choose a stable woven cotton for practice: it is easier to guide than slippery or stretchy fabric. Press the pieces flat, cut carefully, and check that the seam allowances match the pattern. On a small project, a slightly uneven cut can make it harder to judge where the stitching should go.
Mark the stitching line with a removable fabric marker or tailor’s chalk, especially around tight curves and at corners. Follow the pattern’s seam allowance rather than guessing from the cut edge. For a corner, mark the exact point where the stitching lines meet. If the project has two layers, pin or clip them together without pulling one layer tighter than the other. Try the technique on a fabric scrap first if the shape or material is unfamiliar.
Guide curves without pulling the fabric
Sew a curve slowly, keeping your eyes on the marked stitching line or the seam guide beside the presser foot. Let the feed dogs move the fabric; use your hands only to guide its direction. For a broad curve, you may be able to sew continuously. For a tighter curve, stop with the needle down, lift the presser foot, turn the fabric a little, lower the foot, and continue. Several small adjustments usually produce a smoother line than one large turn.
A slightly shorter stitch length can help you follow a tight curve, but extremely short stitches may be difficult to remove if you make a mistake. Avoid stretching the edge to make it fit under the foot. If two curved pieces need to be joined, match their marked points first, then distribute the fabric between those points. Check for folds before stitching across them.
Make corners crisp with an accurate pivot
For an outward corner, sew along the first side until the needle reaches the marked corner point. Stop with the needle in the fabric, raise the presser foot, rotate the fabric to line up the next side, and lower the foot before sewing on. This keeps both lines of stitching connected at the intended point. Turning before or after that point can leave the finished corner rounded or uneven.
Once the seam is sewn, trim the seam allowance diagonally across the tip of an outward corner, leaving a little fabric between the cut edge and the stitches. This removes bulk without weakening the seam. Turn the piece right side out and gently ease the corner into shape with a blunt tool, such as a point turner. Do not jab at the tip: too much force can push through the stitches. Press the corner after turning to help it hold its shape.
Clip and trim curved seam allowances
A curved seam may look puckered after turning even when the stitching is smooth. The seam allowance often needs room to spread or needs excess fabric removed. On an inward, concave curve, make small clips into the seam allowance at intervals, stopping just short of the stitching. The clips allow the edge to open when turned. On an outward, convex curve, cut small V-shaped notches from the allowance to remove bulk so it can lie flat.
Place clips or notches closer together where the curve is tighter, and avoid cutting through the seam. Trimming the allowance narrower can also help, particularly in a lined project, but leave enough fabric to keep the seam secure. If the fabric frays easily, be more cautious about how close you cut. Turn the piece, smooth the seam with your fingers, and press it in sections rather than dragging the iron around the curve.
Check the result before finishing
Before adding topstitching or closing an opening, inspect the turned seam. If a curve has a small bump, check for a missed notch or fabric caught in the seam allowance. If a corner looks blunt, check whether excess allowance remains at the tip. A visible tuck in the stitching line usually needs to be unpicked and resewn; pressing alone will not remove it.
Work slowly on the next attempt, but do not expect every shape to be perfect on the first pass. Accurate marks, controlled stitching, careful trimming, and patient pressing do most of the work. Keeping a few practice pieces beside your machine can help you test how a new fabric behaves before you sew the final project.


