Choose materials that work together
Start with smooth, uncoated paper or cardstock. A relatively even surface lets the stamp touch the paper across its whole design. Heavily textured paper can leave gaps in fine lines, while very thin paper may wrinkle or show ink through the back. Test any paper you plan to use, especially if the finished piece will be folded or handled often.
Choose an ink pad suited to paper stamping and check how it behaves on a scrap of your chosen sheet. Some inks absorb quickly; others sit on the surface longer and are easier to smear. A crisp-looking test impression is useful, but so is a drying test: wait, then gently touch an unused edge of the impression with clean scrap paper to see whether ink transfers. Keep a clean, dry cloth and scrap paper nearby for wiping tools and testing pressure.
Prepare the stamp and your workspace
Work on a flat, stable table. Clear away loose paper scraps, wet tools, and anything that might brush against fresh ink. Put a clean sheet beneath your project to protect the table. If you are using a clear stamp, mount it securely on an acrylic block so that the design lies flat. Check that the block is clean: ink or fingerprints on its edges can leave unwanted marks.
Before starting a pattern, make a few impressions on scrap paper. This helps you see how much ink and pressure your stamp needs. If a stamp has collected dried ink or lint, clean it according to its material and let it dry completely before use. A damp stamp can dilute ink or create blurred edges.
Ink lightly and press straight down
For a small stamp, press it gently onto the ink pad several times rather than pushing hard once. For a large stamp, it may be easier to leave the stamp face up and tap the pad across it. Look for an even coating without shiny puddles, especially in narrow spaces between parts of the design. Too much ink can spread beyond the stamp’s edges and fill in fine details.
Place the stamp where you want the image, lower it straight down, and press evenly across its back. Avoid rocking it from side to side, which can make a second, blurry outline. Lift straight up without sliding. If part of the image is missing, check whether that area received ink and whether the paper was flat before increasing pressure. A light impression is often easier to correct on the next attempt than a heavily inked smear.
Build an even repeating pattern
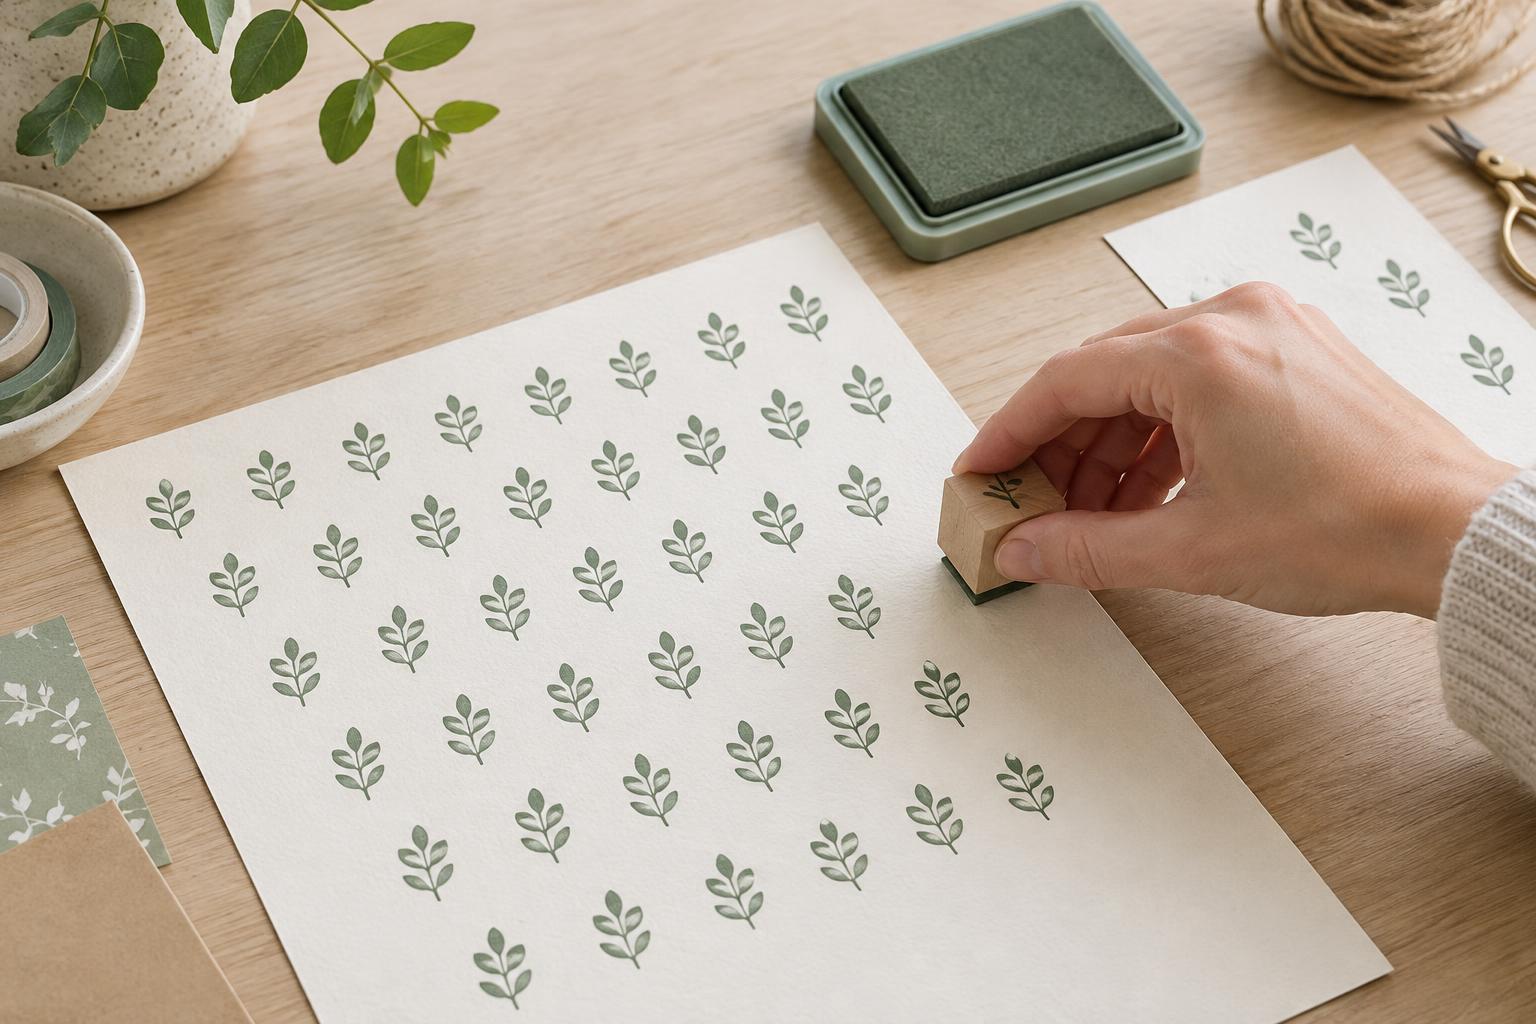
Decide on the spacing before stamping the finished sheet. On scrap paper, try a straight grid, staggered rows, or a looser arrangement. A faint pencil guideline or a separate paper guide placed alongside the project can help keep rows level. For a grid, mark the starting positions lightly, accounting for the full width of the stamped image rather than only the stamp block.
Begin near one edge and work across the sheet in an orderly direction. Keep your hands on unstamped areas whenever possible. After each impression, lift the stamp fully and reposition it; dragging the block can smear a fresh image. Re-ink consistently, and check the stamp face if prints begin to look patchy. If exact alignment matters, pause to check the pattern after each row instead of waiting until the page is full.
Let the pattern dry and troubleshoot smudges
Set the finished sheet somewhere flat and out of the way. Drying time varies with the ink, paper, and amount applied, so do not stack sheets or erase pencil marks until a test impression made at the same time no longer transfers ink. If you need to move the paper, hold it by an unprinted edge.
Smears usually come from sliding the stamp, touching fresh ink, or using more ink than the paper can absorb cleanly. Blurred outlines suggest rocking or excess pressure; incomplete shapes suggest uneven inking, a textured surface, or poor contact. Change one thing at a time on scrap paper so you can tell what helped. Once the pattern is dry, erase any visible guidelines gently and clean your stamp before storing it.


