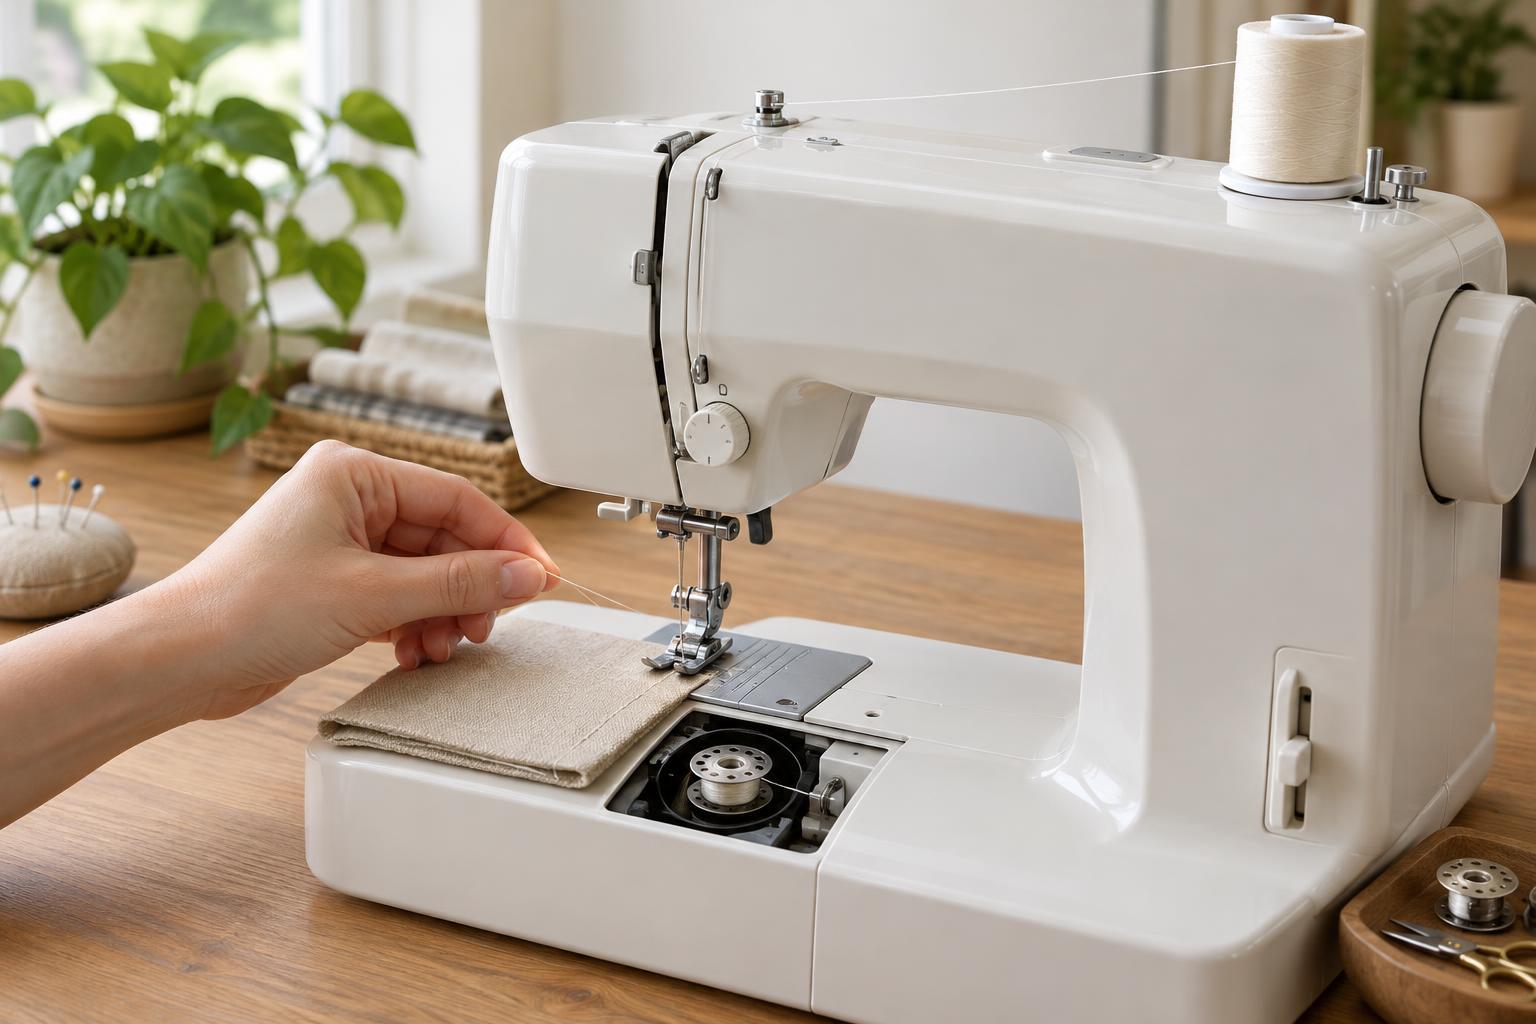
Get to know the two threads
A sewing machine forms most basic stitches using two threads. The upper thread travels from the spool, through guides and the needle. The lower thread sits on a small bobbin beneath the needle plate. Threading both paths correctly matters: a missed guide or poorly wound bobbin can cause loops, broken thread or uneven stitches.
Before you begin, find your machine’s manual or the threading diagrams printed on its body. The exact route, bobbin type and direction of rotation vary by model. Use a bobbin that matches your machine rather than one that merely looks similar. Choose suitable sewing thread, fit a needle appropriate for your fabric and replace a bent or blunt needle. Raise the needle to its highest position and switch the machine off while handling the needle or threading the machine.
Wind an even bobbin
Place the thread spool on its pin and add the spool cap if your machine uses one. Follow the machine’s bobbin-winding path, paying particular attention to the small tension guide. Put an empty bobbin on the winder spindle. Some machines ask you to pass the thread through a hole in the bobbin before winding; others secure it differently. Follow your model’s instructions, then move the spindle into its winding position.
Keep your hands clear of moving parts and run the winder slowly at first. If you are holding a starting thread tail, trim it once the first wraps are secure, as directed by your manual. Continue until the bobbin is evenly filled without thread spilling over its edges. Many machines stop automatically, but do not rely on that if the bobbin looks full. Cut the thread, release the winder and remove the bobbin.
A good bobbin has firm, level layers of thread. Loose, lumpy or cone-shaped winding can interfere with feeding. If that happens, unwind the bobbin and check that the thread passes through the winding tension guide before trying again. Avoid winding new thread over a partly filled bobbin of another color.
Thread the upper path
With the machine off, raise the presser foot and bring the needle to its highest position. Raising the presser foot opens the tension discs on many machines, making it easier for the thread to settle between them. Place the spool on its pin, then follow the numbered markings or manual from the spool through each guide. The usual route leads down through the tension area, up through the take-up lever, and back down through guides near the needle.
Check that the thread actually enters the take-up lever; it is easy to miss when the lever sits low. Thread the needle in the direction specified for your machine. A built-in needle threader can help, but it does not replace the rest of the threading path. Pull a short tail of thread through the needle and place it beneath the presser foot toward the back, unless your manual directs otherwise.
Install the bobbin and pick up the lower thread
Open the bobbin area and insert the wound bobbin as shown in your manual. A top-loading bobbin usually drops into a holder beneath a cover; a front-loading machine may use a removable bobbin case. Check the indicated direction of thread unwinding, then draw the thread through the case or holder’s slot and under its tension spring. Leave a short tail and close or replace the cover as instructed.
To bring up the lower thread, hold the upper thread tail lightly. Turn the handwheel slowly in the direction specified by your manual so the needle goes down and rises again. Gently pull the upper thread to draw a loop of bobbin thread through the needle plate. Pull that loop free and place both thread tails beneath the presser foot toward the back. Some machines can begin sewing without this step; follow your model’s guidance.
Test the stitch before starting your project
Put a scrap of your project fabric under the presser foot and lower the foot. Switch the machine on, hold the thread tails for the first few stitches if your manual recommends it, and sew a short straight line. Check both sides of the fabric. The stitches should look reasonably even, without large loops or repeated skipped stitches.
If thread bunches beneath the fabric, stop and rethread the upper path with the presser foot raised; an upper thread that missed the tension discs is a common cause. If the stitch remains uneven, check the bobbin’s orientation, threading path and winding. Remove tangled thread before trying again. Change only one setting at a time, and test on another scrap. Once you have a smooth stitch, you are ready to sew your project.


