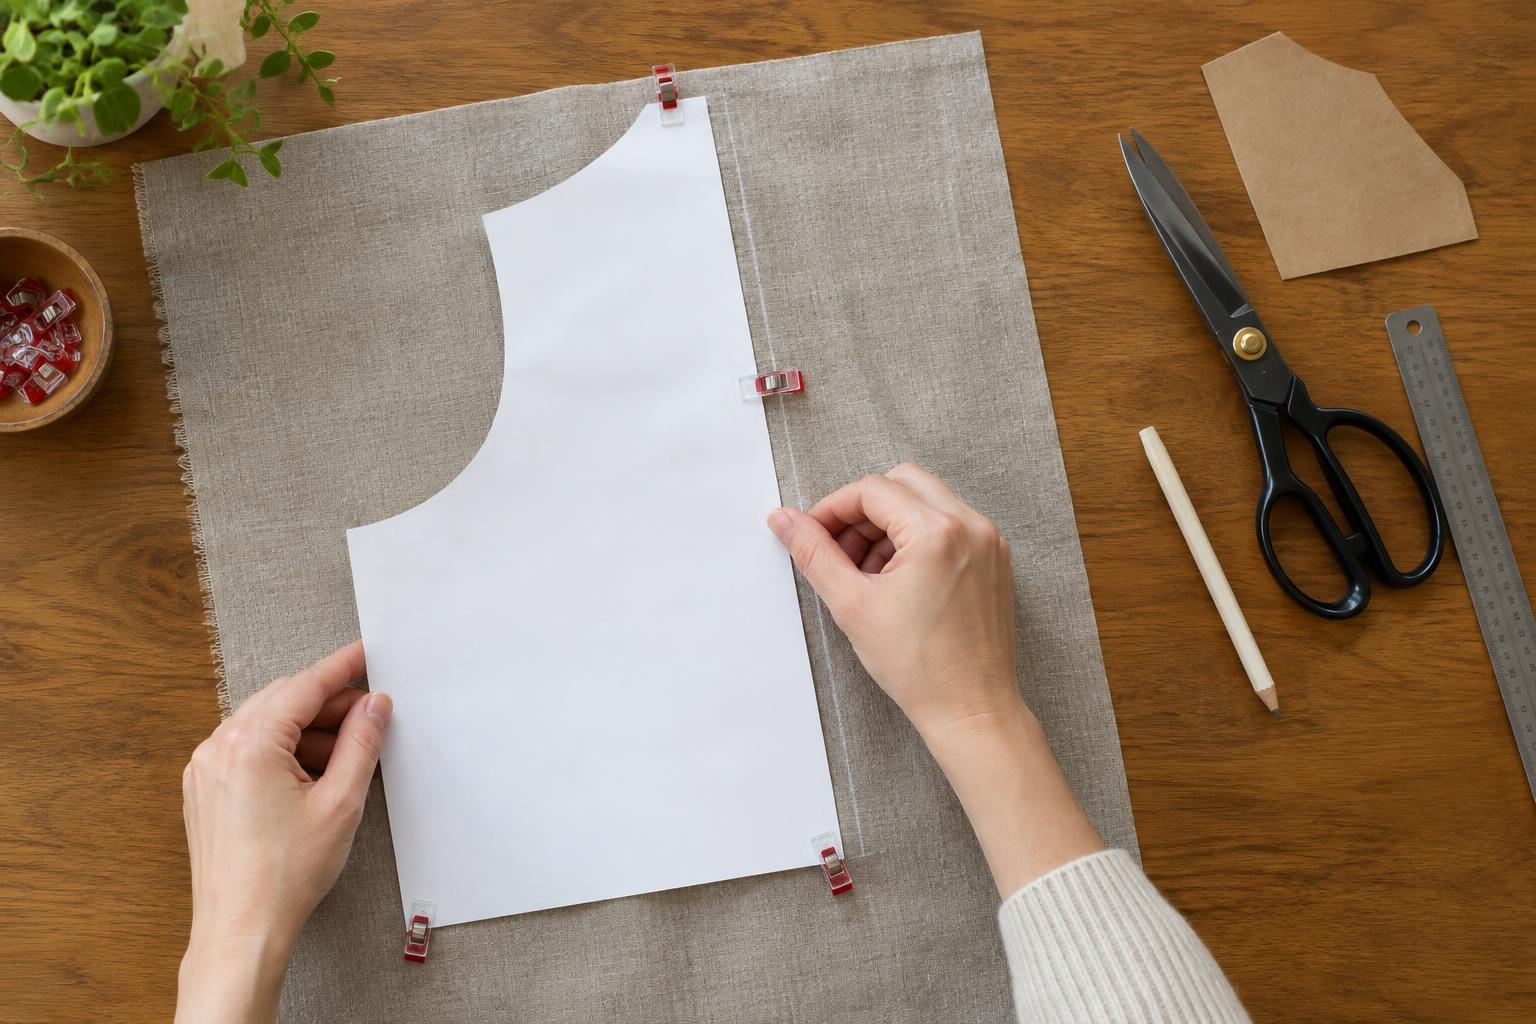
Prepare the template and work surface
Before transferring a template, check what each line means. Identify the outer cutting line, any fold line, placement marks, and points where pieces must meet. If a pattern includes a seam allowance or an overlap for glue, confirm whether it is already included. Label similar-looking pieces and mark which side should face up. These small checks prevent you from cutting an accurate shape that is nevertheless the wrong size or orientation.
Smooth the material on a clean, flat surface. Flatten curled paper under a book, and press wrinkled fabric if the material allows it. For fabric, check whether the pattern calls for a particular grain direction, stretch direction, or printed design orientation. For cardboard, note any bend or corrugation direction that could affect a fold. Set out a ruler, pencil, and a few removable pieces of tape or clips so the template will not shift while you work.
Choose a transfer method that suits the material
For ordinary paper or card, you can draw lightly around a firm template with a sharp pencil. Keep the pencil close to the edge and trace in short sections rather than pulling the template out of place. A window or light pad can help you trace a design onto thin, pale paper. For repeated shapes, cut a reusable template from sturdy card and mark a consistent point, such as the top edge, to keep every copy oriented the same way.
On fabric, use a removable fabric marker or tailor’s chalk suited to the material. Test it on a scrap first, especially when the finished surface will remain visible. You can trace around a paper pattern, or pin or weight the pattern and cut around it when marking would be awkward. On dark or textured materials, small marks at corners and joining points may be easier to see than a full outline. Avoid pressing hard enough to dent paper, stretch fabric, or leave a permanent line.
Anchor the template, then check alignment
Start with a reference edge or center line. Place the template against that reference, measure its position at two points, and secure it before tracing. On paper, low-tack tape placed outside the design can help. On fabric, use weights for flat pieces or pins placed inside the cutting area when suitable. If the material has stripes or a directional print, look at the whole piece before cutting; a correctly measured shape can still appear crooked if its design runs at an angle.
For projects with several parts, add matching marks to the template and material. A short pencil tick, chalk mark, or small notch in an allowed seam edge can show where corners, folds, or adjoining pieces should meet. Transfer these marks while the template is still in position. If a design must be mirrored, flip the template deliberately and label the reverse piece. Before cutting, step back and check that each piece has room for its required seam, fold, or joining edge.
Make a trial fit before committing
A quick trial fit is especially useful for boxes, layered decorations, appliqué, and upcycled objects whose surfaces may not be perfectly square. Cut a test piece from scrap paper or inexpensive fabric when the material is limited or the shape is complex. Fold it along the intended lines, place it against the base, and check where edges meet. For a curved surface, a flat template may need small adjustments before it sits smoothly.
For an assembly with several pieces, lay them out in order without glue or stitching. Check that joining marks align and that the visible sides face the right way. If you find an error, adjust the template rather than trying to correct every finished piece separately. Mark the change clearly, then test again. This is also the point to decide whether a tiny trimming allowance will help you refine the fit later.
Avoid the mistakes that cause pieces to drift
The most common alignment problems come from a shifting template, an unclear reference point, or marks made with a thick tool. Hold the template steady as you work, use a fine line, and keep measurements tied to the same edge or center line. Rechecking each new piece against the original template can prevent small differences from building up across a set. If you are cutting by hand, cut on the intended line rather than automatically outside every pencil mark.
Leave visible or delicate surfaces unmarked whenever possible. Place marks on the back, within a seam allowance, or in an area that will be covered, and remove test marks according to the tool’s instructions. Finally, keep the template until the project is assembled. It gives you a reliable reference if you need to recut a piece or work out why two edges do not meet.


