Choose a bottle that is easy to control
A homemade watering can works best when you want to dampen soil gently rather than pour a large amount of water at once. Choose a small, squeezable plastic drink bottle with a screw cap. A bottle that fits comfortably in your hand will be easier to aim around seedlings, small pots and crowded leaves than a large, heavy one.
Wash the bottle and cap with warm, soapy water, rinse them well and let them dry. Use a bottle that held a drink, not one that held a cleaning product, pesticide or other chemical. Remove a loose label if it gets in the way of your grip. You will also need a piece of scrap wood, a clamp, and a fine hand drill or pin vise. Keep a cloth nearby to catch plastic shavings.
Make a fine shower in the cap
Take the cap off the bottle. Set it open side down on the scrap wood and secure it so it cannot turn or slip. Do not hold the cap in your fingers while making holes. Make five to eight small holes spaced across the cap, starting with a fine drill bit of about 1 mm or less. An adult should handle this step if children are taking part in the project.
Lift the cap and clear away any plastic shavings. Check for rough edges, smoothing them carefully if needed, and rinse the cap before putting it back on the bottle. Start with fewer, smaller holes than you think you need: you can add another hole after testing, but you cannot make an oversized hole smaller. Avoid drilling into the threaded sides, which need to seal against the bottle.
Fill, test and adjust the flow
Fill the bottle about three-quarters full and screw on the cap firmly. Test it over a sink or outdoors. Tilt the cap toward the ground and squeeze the bottle slowly. The holes should release several thin streams rather than one forceful jet. Ease off the pressure to slow the flow; when you bring the bottle upright and release it, air can enter through the holes so the bottle regains its shape.
If water comes out too quickly, use a lighter squeeze and hold the bottle closer to the soil. If you need a softer shower, try a fresh cap with smaller holes. If almost no water comes out, check that the holes are clear before adding another one. A rigid bottle may not squeeze well, so changing to a softer bottle is usually more helpful than making much larger holes.
Water plants without washing soil away
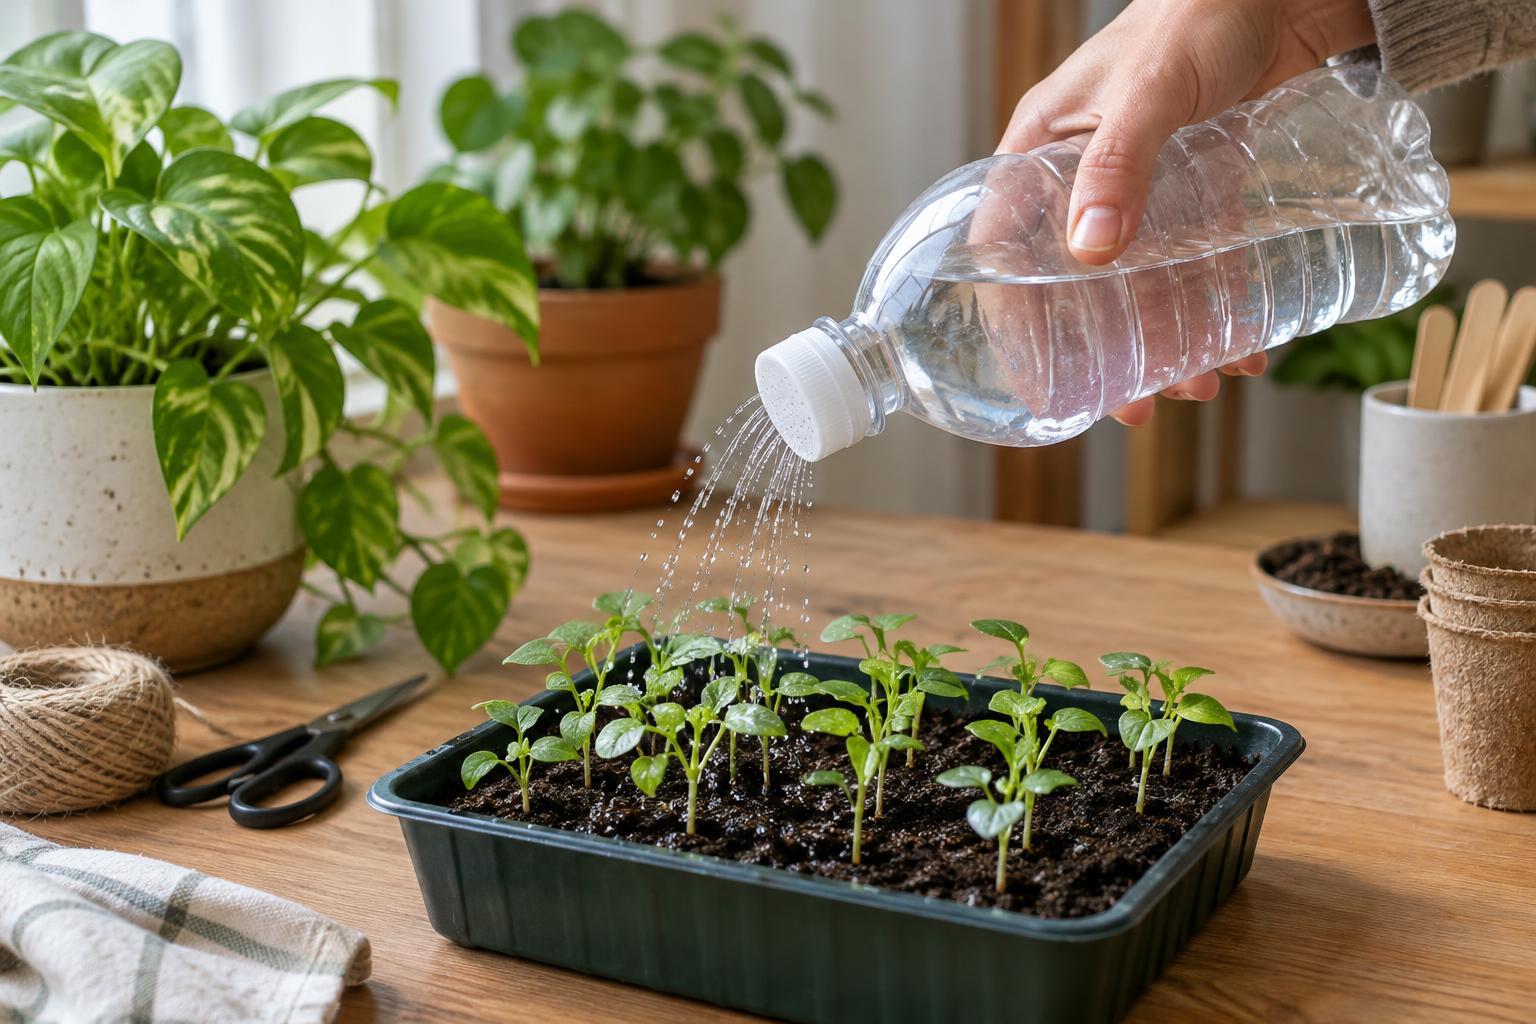
Aim at the soil near the base of the plant rather than directly at delicate stems. Begin with a gentle squeeze and move the bottle around the pot to moisten the surface evenly. Holding it close to the soil helps keep the streams from splashing. Pause and let the water soak in before adding more, especially if the soil is very dry and water initially runs across its surface.
This tool is useful for small pots, seed trays and hard-to-reach spaces, but it does not measure how much water a plant needs. Check the soil and the plant’s usual care requirements rather than watering every pot for the same length of time. For a large container, a conventional watering can may be quicker and less tiring.
Keep the bottle ready for reuse
Empty leftover water after use, rinse the bottle occasionally and let it dry with the cap off. If a hole becomes blocked, rinse the cap and clear it gently with the drill bit while the cap is off the bottle and securely supported. Replace the cap or bottle if it cracks, develops a sharp edge or stops sealing properly.
The most common mistakes are making holes too large at the start, choosing a bottle that is difficult to squeeze, and pressing too hard over fragile plants. A quick sink test catches all three before you reach the pot. Once the flow feels comfortable, your reused bottle becomes a simple, precise tool for everyday watering.


