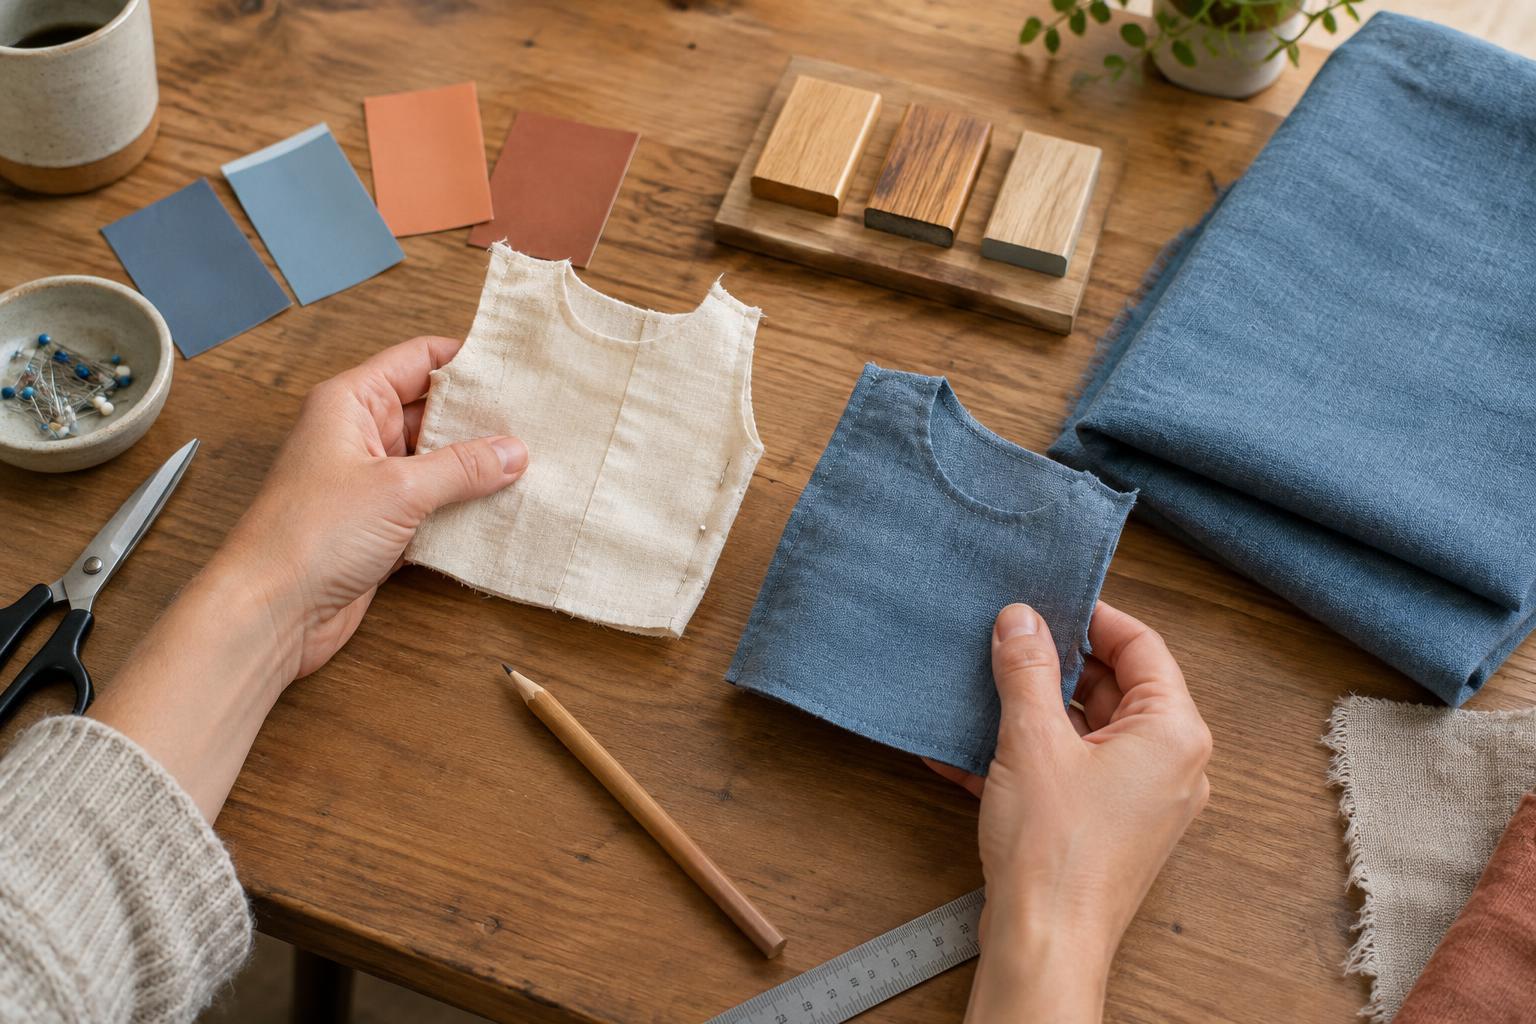
Make a test piece that answers a question
A test piece is a small sample made with the materials and methods you plan to use in a larger project. It might be a stitched scrap, a painted offcut, a folded paper corner or a small piece of an upcycled surface. Its purpose is not to look perfect. It is to answer a specific question before you spend more time or materials on the final piece.
Choose one or two things to check first: Will a fabric seam lie flat? Will a box lid fit over its base? Does a paint color look right on the intended surface? Use the same material as the final project whenever possible, including its thickness, texture and existing finish. A smooth sheet of new paper cannot reliably show how glue will behave on textured card, and a cotton scrap may not reveal how a stretch fabric seam will sit.
Check fit with a simple mock-up
For projects with parts that must meet, make a quick mock-up before cutting your best material. Fold a paper bag or box from inexpensive paper, mark its intended dimensions and check whether its contents fit. For a fabric pouch, cut test panels with the planned seam allowances, stitch them and try inserting the item the pouch will hold. If you are making a decorative sleeve for a jar, wrap a strip of scrap material around the actual jar and mark where the ends meet.
Test the piece in use, not just while it lies flat. Open the box, turn the pouch right side out or slide the sleeve over the jar. Notice where corners pull, closures strain or edges overlap too far. Mark changes directly on the mock-up, then transfer the revised measurements to your pattern. If a part needs room for a fold, seam or layer of glue, include that space in the next test rather than assuming a tighter cut will stretch to fit.
Test color under the conditions that matter
Color can change when a material absorbs paint, glue or dye, and it can look different beside other colors in the project. Put a small amount on an offcut of the intended surface. For layered colors, apply them in the planned order and allow each layer to dry as you would on the final piece. If you are choosing thread or trim, place it directly against the fabric rather than judging it separately.
Look at the dry sample where the finished object will usually be seen, as well as in your work area. Compare it with nearby materials, such as the paper backing for a collage or the fabric lining for a bag. You do not need to find a single “correct” color; you need to decide whether the combination suits your project. Label samples so you can remember which mixture, paint coat or thread produced each result.
Try the finish, including the edges
A finish test shows more than appearance. It can reveal whether a coating leaves brush marks, whether glue wrinkles paper or whether a sewn edge feels bulky. Prepare an offcut the same way you will prepare the final piece: clean a reused container, press a fabric scrap or lightly sand a wooden offcut if that is part of your plan. Apply the finish with the intended tool and let it dry or set before judging it.
Include a corner or edge in the sample. Fold paper over an edge, sew through the number of fabric layers you expect to use, or coat the rim of a decorative object. These areas often behave differently from a flat center. Once the sample is ready, handle it gently as you would the finished item. If a surface feels tacky, an edge lifts or stitching puckers, adjust one factor—such as the amount of adhesive, stitch length or number of coats—and make another small sample. Follow product-label directions when using adhesives, coatings or other finishing materials.
Keep the result and make a clear final plan
Write a few notes on each test piece or attach a label: material, tool, setting, number of coats, drying order and what you would change. For a sewing test, note the seam allowance and stitch setting. For a paper or painted sample, note which side you coated and whether the surface was prepared. A short record is especially helpful when several similar samples end up on the table.
Before starting the final project, decide which version worked best and why. Update your measurements, layout or order of steps, then set the chosen sample beside your work as a reference. A test piece cannot guarantee that every part of a larger project will behave identically, especially if the materials vary. It can, however, replace a guess with something you have tried, observed and adjusted.


