Choose paper and measure before cutting
A rectangular box is the easiest shape to wrap neatly because its straight edges give you clear folding lines. Choose paper that bends cleanly without tearing at a crease. Very thin paper can show the box underneath, while thick paper may resist sharp corners. If you are reusing paper, flatten old folds as much as you can and plan to place any remaining marks on the underside.
Set the box on the paper and bring the sheet around it before cutting. In the direction that wraps around the box, you need enough paper to cover all four faces with about 2–3 cm of overlap for a seam. At each open end, leave paper extending roughly halfway up the height of the box. Too little extension leaves gaps at the corners; too much creates bulky folds. Check both ends before you cut, especially if the box is not perfectly centered.
Set up a clean, hidden seam
Work on a flat, clear surface with scissors and a few short pieces of tape within reach. Decide which broad face of the box should be the presentation side, then place that face down against the reverse side of the paper. The opposite face will be uppermost as you work, so the seam can sit on the bottom of the finished package.
Pull one long edge of paper over the box and crease it where it turns over the box edge. Bring the other edge across to overlap it, keeping the paper snug but not so tight that it tears. For a straighter seam, fold under about 1 cm of the outer paper edge before laying it over the first edge. Secure the overlap with one or two small pieces of tape. A narrow, even overlap looks tidier and needs less tape than a loose one.
Fold each end into flat triangles
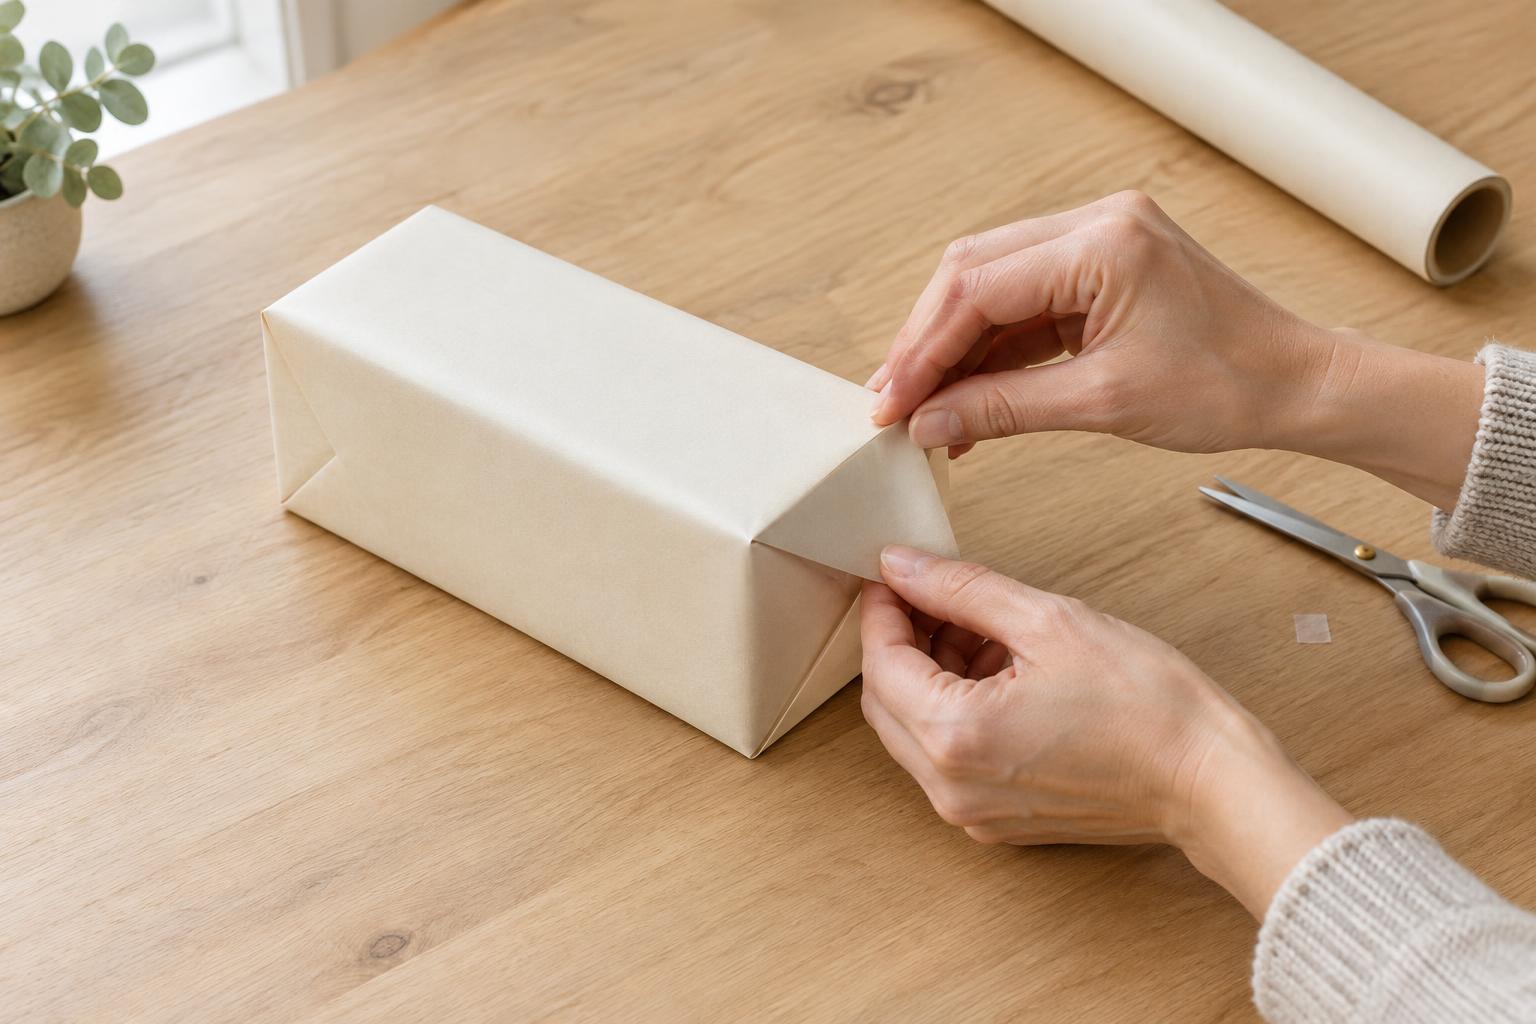
Turn one open end toward you. Press the upper section of loose paper down against the end of the box. As you do, guide the paper at both sides inward so it forms two triangular wings. Run a finger along the box’s upper edge and the diagonal folds to define them. Fold the wings firmly against the end, checking that the paper lies flat rather than bunching at the corners.
Bring the remaining lower flap up over the folded wings. If its edge reaches past the top edge of the box, fold that edge under first for a clean finish. Fix the flap with one small piece of tape near its center. Repeat at the other end, taking a moment to match the direction and size of your folds. Keeping the last flap on the same side at both ends makes the package look more deliberate.
Sharpen corners without crushing the box
Once both ends are closed, run a fingertip along the box edges to set the creases. For a firmer line, use a blunt bone folder or the rounded edge of a ruler, pressing lightly through the paper. Support the box from underneath as you work. Heavy pressure can dent a soft cardboard lid or split delicate paper, so make several gentle passes instead of one hard one.
Look at the four corners on the presentation face. If one appears soft, pinch the paper gently where its two edges meet and smooth any slack toward the hidden seam or an end fold. Avoid adding tape to a visible corner to force it flat. That usually makes the corner more noticeable rather than sharper.
Fix common wrapping problems
If an end looks bulky, the paper may extend too far beyond the box. Before taping it shut, trim a little from the loose end and refold. If the paper will not reach across an end, do not stretch it; start again with a larger sheet or add a deliberately cut matching panel. An uneven main seam often means the box shifted while wrapping, so align the box and crease one long edge before pulling the other across.
Minimal tape works best when the paper is measured well and each fold holds its shape on its own. Aim for a secure seam and one small tab at each end, then add tape only where the paper genuinely springs open. The goal is not a particular tape count: it is a smooth wrap whose edges, folds, and corners do most of the work.


