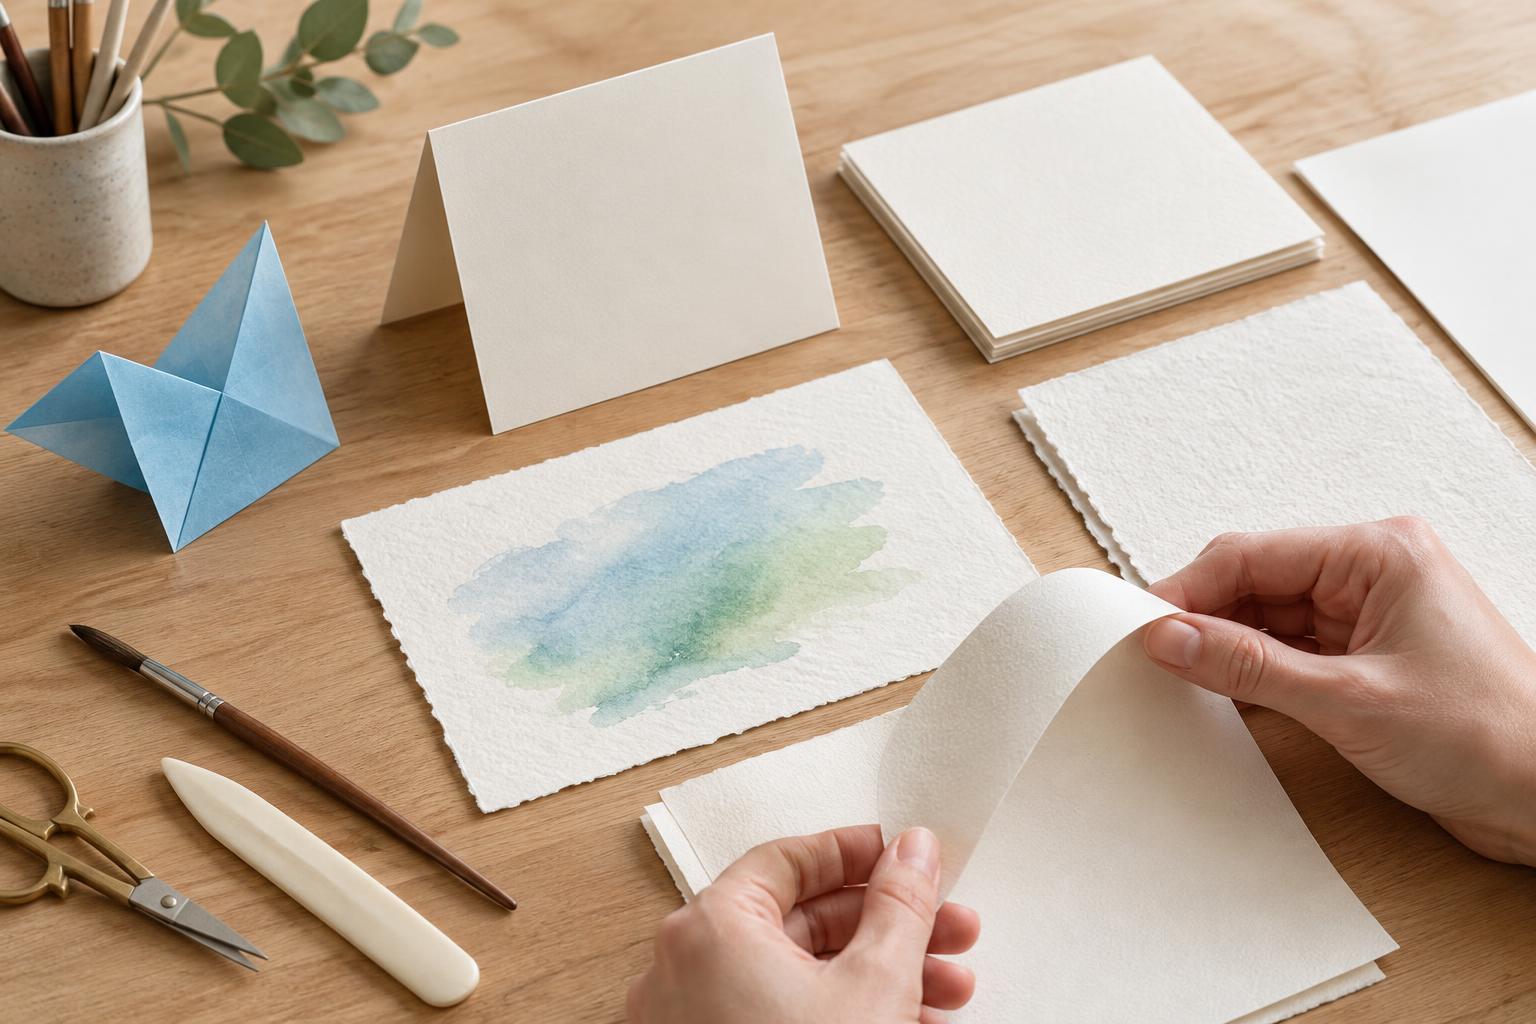
What paper weight tells you—and what it does not
Paper weight is often listed in grams per square metre, or gsm. A higher gsm generally means a heavier sheet, but it does not tell you everything about how the paper will behave. Two sheets with the same weight can differ in thickness, stiffness and flexibility because they are made differently. If you can handle a sample, bend it gently and feel how readily it springs back.
For a project that needs crisp folds, flexibility may matter more than a substantial feel. For a card that must stand upright, stiffness becomes useful. Painting adds another concern: the sheet must cope with the amount of moisture your technique introduces. Treat weight as a starting point, then consider the surface and test a small piece with the tools you plan to use.
Choose flexible paper for folding
Simple origami and projects with many layered folds are usually easier with relatively thin, flexible paper. Around 70–90 gsm can be a practical starting range for basic folds, though the best choice depends on the design. Thick paper may make the first fold neatly but become bulky where several layers meet. For a box or other simple shape that needs to hold its form, a somewhat sturdier sheet may work better.
Pay attention to grain, the direction in which many paper fibres tend to lie. A sheet often folds more smoothly in one direction than the other. To check, curve it gently each way without making a crease; one direction may offer less resistance. When a project allows it, place prominent folds in the easier direction. For precise creases, align the edges first, press from the centre outward and sharpen the fold with a clean fingernail or bone folder. Avoid rubbing so hard that you polish or tear the surface.
Match card stock to the card design
Handmade cards need enough body to open, close and stand without feeling floppy. Card stock around 200–300 gsm is often a useful place to start for a folded card base. Choose a lighter option if you plan to add several layers, heavy embellishments or a matching envelope. Before cutting a full set of cards, fold one sample to check whether it closes neatly.
Heavy card stock can crack along a fold, particularly when it has a printed or coated surface. Score the fold line first: place the sheet on a cutting mat and run a blunt scoring tool beside a ruler, using steady pressure rather than cutting into the paper. Then fold along the scored line. If you are printing a design at home, also check that your printer accepts the paper’s thickness and finish. For layered decorations, test your adhesive on a scrap; too much liquid glue can wrinkle even sturdy card.
Pick a painting surface for your medium
For dry materials such as coloured pencils, a smooth sheet supports fine detail, while a surface with more texture, often called tooth, can help hold visible layers of colour. Smooth paper can also suit neat ink lines, but inks vary: try a few marks first to see whether they feather, bleed through or take longer to dry than expected.
Water-based paint places different demands on paper. Watercolour paper, often around 200–300 gsm or heavier, is made for wet applications; heavier sheets generally tolerate more water before they buckle, although technique and paper construction also matter. Cold-pressed paper has a noticeable texture, while hot-pressed paper is smoother and may suit finer detail. If you use only light washes, a smaller test sheet can help you decide whether a lighter paper meets your needs. Let painted work dry fully before judging how flat it will remain.
Use the finish to guide your final choice
Finish describes how a paper’s surface looks and feels. Uncoated paper tends to absorb colour and glue readily; coated paper can show crisp printed images but may resist some paints or adhesives. Textured paper adds visual interest to a simple card, yet its raised surface can make stamping or fine lettering less even. A glossy finish may show fingerprints or glare, while a matte finish gives a softer appearance.
When buying paper for a specific project, make a quick sample before committing to the full sheet. Fold it, mark it, add a small amount of glue or paint, and allow it to dry. Check the back for bleed-through and the front for cracking, curling or unwanted changes in colour. Label scraps with their weight and finish so successful choices are easy to repeat. That small preparation step is often more useful than choosing by weight alone.


