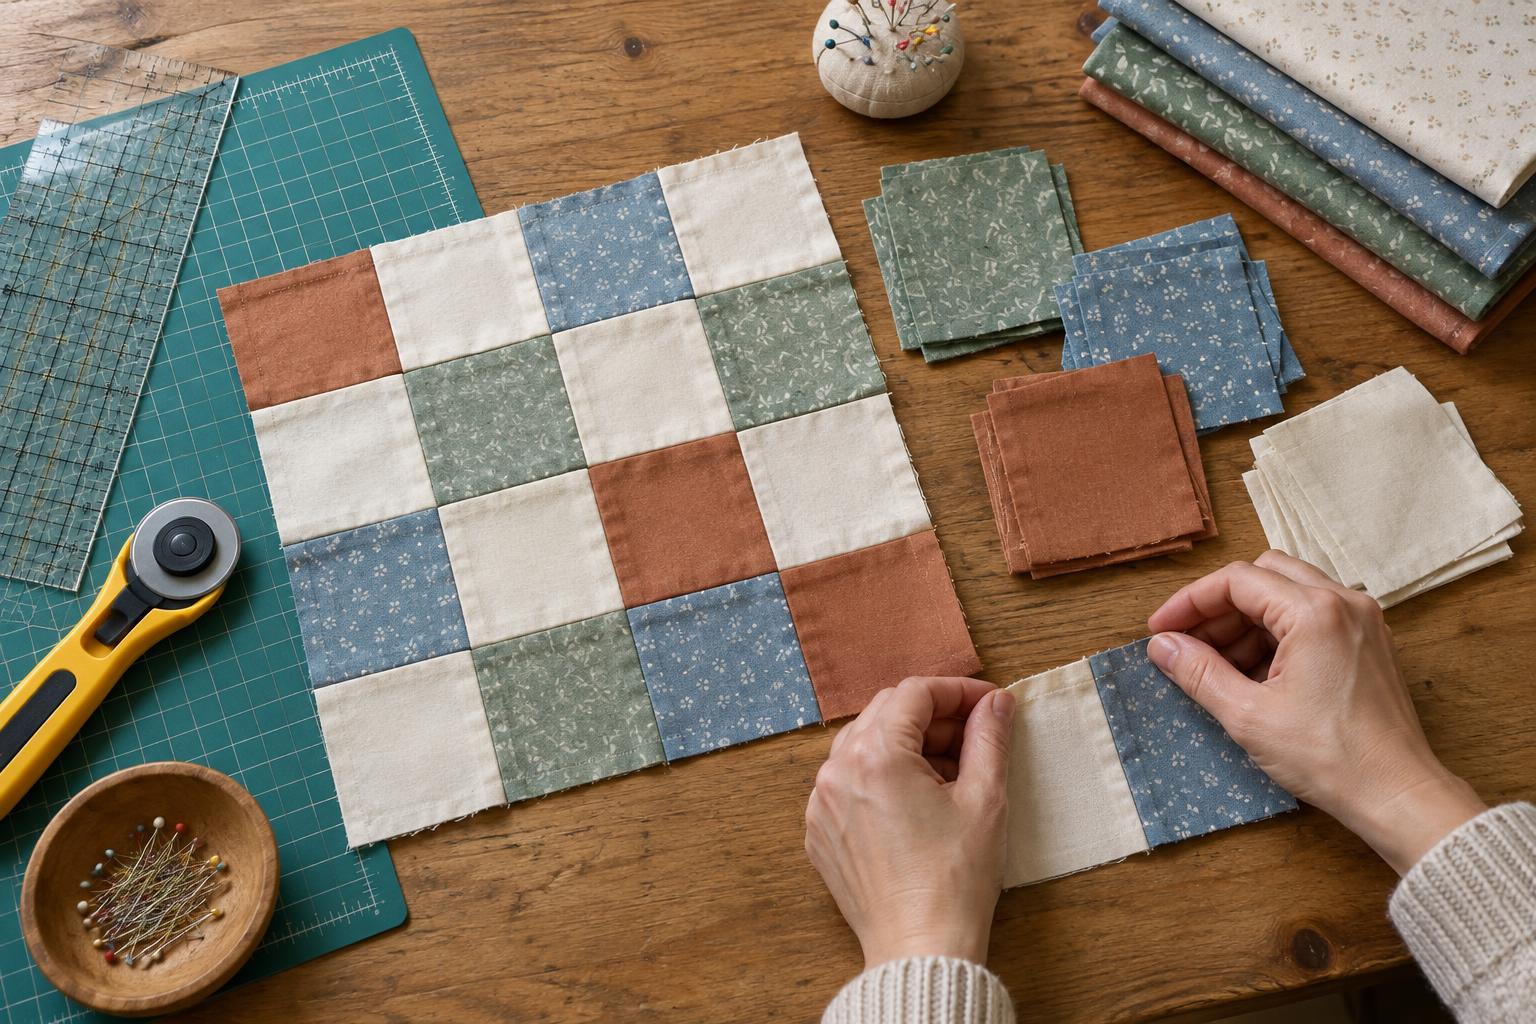
Choose fabric and plan a small project
Patchwork becomes easier when the fabric behaves consistently. For a first project, choose medium-weight woven cottons of similar thickness. Slippery, stretchy or loosely woven fabrics can shift while you cut and sew, making even squares harder to achieve. A small panel for a cushion front or table mat gives you room to practise without preparing a large stack of pieces.
Decide how many squares you want in each row and sketch their arrangement before cutting. Two or three fabrics are enough to create a clear pattern. Check that you have enough fabric for both the visible squares and the seams around them. If the finished item will be washed, prewash fabrics according to their care needs, especially when combining different colours or materials. Press them smooth before measuring; folds and wrinkles can throw off a cut.
Measure and cut matching squares
Choose a finished square size, then add a seam allowance on every edge. With a ¼-inch seam allowance, add ½ inch to both the intended finished width and height. For example, cut a 4½-inch square to make a 4-inch square once it is joined to neighbouring pieces on all sides. Use one measurement throughout the project rather than trimming squares by eye as you go.
A rotary cutter, quilting ruler and cutting mat can make repeated cuts convenient, but fabric scissors and a firm ruler also work. Align an edge of the fabric with its straight grain where possible. Smooth the fabric flat without stretching it, measure carefully, and cut strips first if that helps you repeat the same width. Then cut squares from the strips, checking the ruler position each time. Keep fingers clear of the cutting line and close a rotary cutter’s blade guard whenever you set it down.
Stack a few finished squares and compare their edges. If one is noticeably different, recut it now rather than hoping the seam will hide it. Uneven cutting is much easier to correct before pieces are joined.
Sew squares into straight rows
Lay out every square in its planned position and take a quick photo or make a simple row-by-row note. This helps preserve the arrangement when pieces move to the sewing machine. Place the first two squares right sides together, align their edges, and sew one side with the chosen ¼-inch seam allowance. Add the next square to the row in the same way, taking care not to flip a directional print accidentally.
A consistent seam matters more than sewing quickly. Check where the ¼-inch mark falls on your machine’s needle plate, or test a seam on spare fabric and measure it after sewing. Guide the fabric gently rather than pulling it through. If the edges drift apart, stop with the needle down, lift the presser foot if needed, and realign them. Repeat until each row is complete.
Press the seams after sewing instead of waiting until the whole panel is assembled. Lift and lower the iron rather than pushing it along the row, which can distort the squares. You can press seams open for less bulk or to one side; use the same approach deliberately across the project.
Join rows without losing the corners
Place two completed rows right sides together. Match the seams between squares first, then align the ends and any remaining edges. Pins or clips placed near the matched seams help prevent them from shifting. If you pressed seams to one side, pressing adjacent rows in opposite directions can let their seam allowances sit against each other, a method often called nesting. It helps the corners meet without adding a complicated technique.
Sew the rows together using the same seam allowance as before. At each intersection, slow down and remove pins before the needle reaches them. Open the rows and check the joins before adding another row. If a corner is slightly off, consider whether it will matter in the finished project. If it is distracting, unpick just the short section around that join, realign the seams and sew it again. Finish by pressing the joined panel flat without stretching its edges.
Troubleshoot and build accuracy
If rows bow or squares seem to shrink unevenly, check three things: cut size, seam allowance and pressing. A seam that is wider on one piece than another changes the visible size of each square. Pulling fabric during pressing can also stretch an edge, while imprecise cutting leaves pieces difficult to match from the start. Test a few squares from spare fabric to find which step needs attention.
Keep the first project simple enough to finish, and use it as a reference for the next one. Note the square size you cut, the seam allowance you used and any fabrics that were harder to handle. Consistent preparation and a measured sewing pace will do more for neat patchwork than trying to correct every mismatch at the end. Once basic rows feel comfortable, experiment with a larger layout or a mix of prints while keeping the same cutting and joining method.


