Recognize when air quality needs attention
Cutting paper and hand-sewing fabric rarely call for special ventilation, but some other craft steps deserve more planning. Spray paints, solvent-based adhesives, varnishes, and some markers can release vapors as you work and while a project dries. Sanding wood, clay, plaster, or a painted surface can put fine particles into the air. Heating a material may also produce fumes, especially if it is scorched or used outside the conditions recommended by its maker.
Smell can be a useful warning, but it is not a reliable measure of safety: a product may smell strong without presenting the same concerns as another product, and not every airborne hazard has a noticeable odor. Before starting, read the label and any available safety information. Check where the product may be used, whether ventilation is specified, and how long it should dry or cure. If you cannot meet those conditions in your workspace, choose a different material or postpone the step.
Choose a workspace that moves fumes away
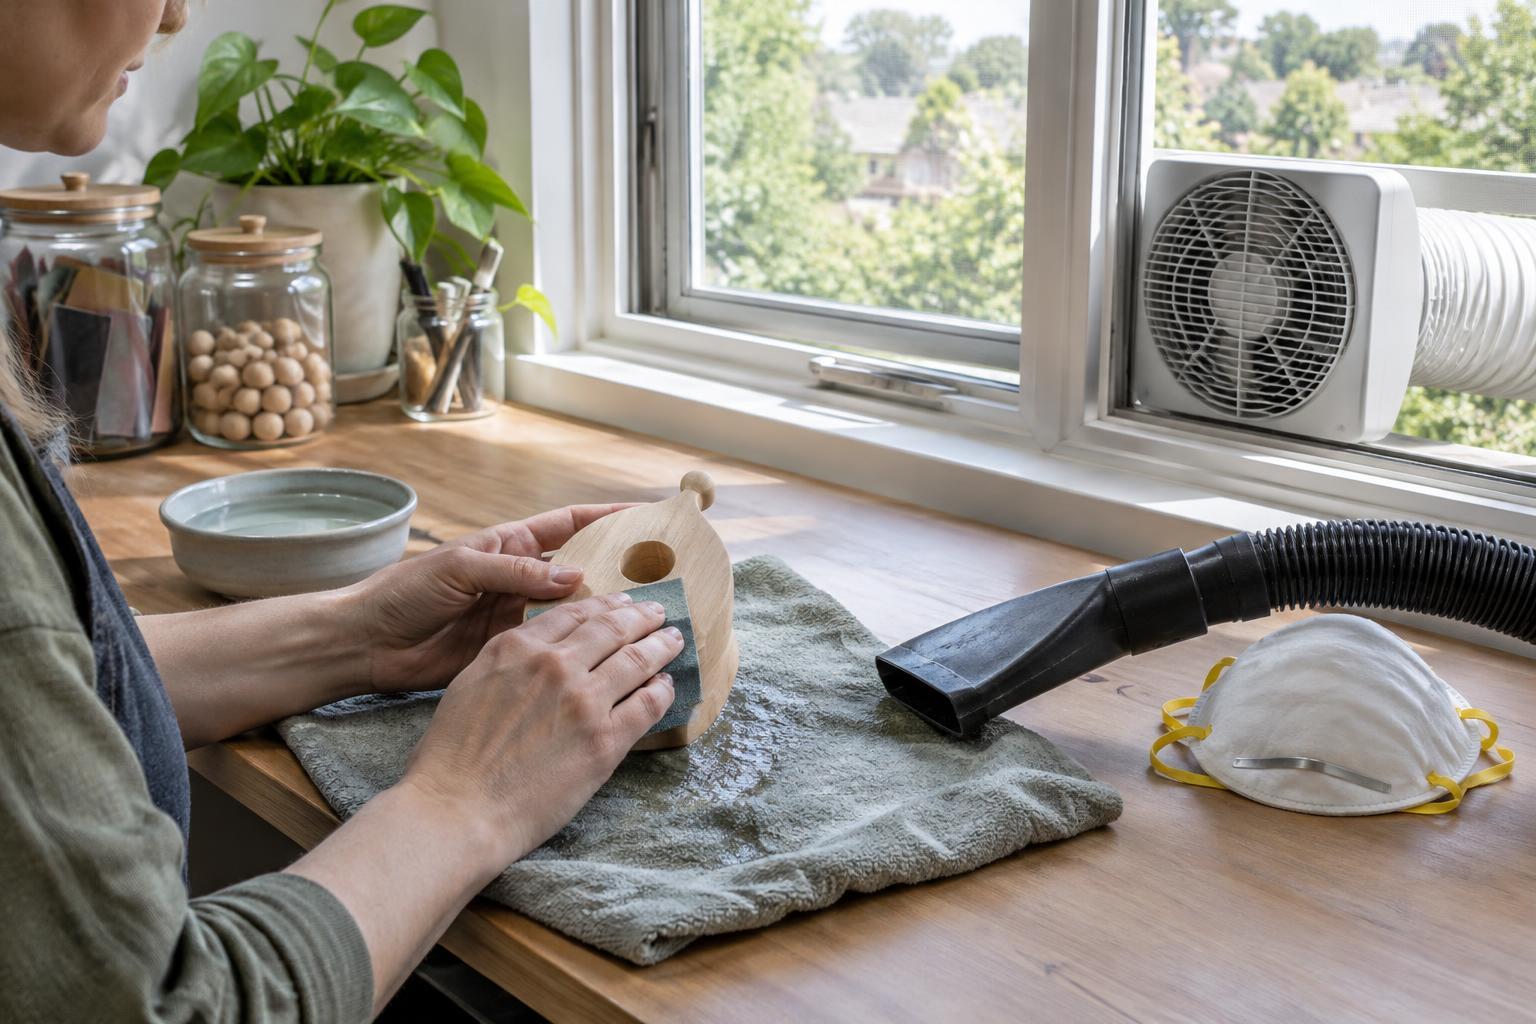
For products that call for good ventilation, an open window alone may not provide useful airflow. Where practical, work near an opening with a fan positioned to move air out, and allow replacement air to enter from another opening. Keep your face out of the path between the project and the exhaust. A fan that simply stirs air around the room, or blows across a wet finish toward you, may spread vapors rather than remove them. Avoid directing exhaust into another occupied space.
Keep the project away from food preparation areas, children, and pets, and consider where it will dry. A freshly coated object may continue releasing vapors after you put the tools away. Close containers promptly and follow the product’s drying and storage instructions. For spray products or materials whose labels require outdoor use, use an appropriate outdoor setting rather than trying to make a small indoor room work. Keep flammable products away from flames, sparks, and other ignition sources.
Stop dust before it spreads
Dust control starts with the technique. If the material permits it, choose a hand tool over an aggressive power tool, remove only as much material as needed, and work over a surface you can clean easily. Some materials can be sanded damp to reduce airborne dust, but check that water will not damage the project or create an electrical hazard. Do not wet-sand near powered equipment unless the equipment and method are designed for it.
For dry sanding, use suitable dust collection when available and keep other people out of the immediate work area. Clean with a damp cloth or a vacuum designed to capture fine dust; dry sweeping and compressed air can send settled particles back into the room. Dispose of dust and used wipes according to the material’s instructions. If an old object has an unknown coating or the material may contain a hazardous substance, do not sand it until you know how it can be handled safely.
Understand what protective gear can and cannot do
Eye protection helps during sanding and other tasks that throw particles. Gloves may help keep a product off your skin if the label recommends them, but they do not replace careful handling or handwashing. A well-fitting particulate respirator can reduce exposure to certain airborne particles when it is appropriate for the task; an ordinary dust mask is not a solution for solvent vapors. Protection against vapors requires equipment selected for the particular substance and used correctly. If that is beyond what you can confidently arrange, change the product or the workspace instead.
Avoid relying on a respirator as permission to work with strong fumes in a poorly ventilated room. Likewise, an air purifier is not necessarily a substitute for exhausting vapors outdoors; filters differ in what they capture. The simplest improvement may be to use a lower-odor, water-based product that suits the project, apply it by brush rather than spray, or buy a prefinished component. Read the replacement product’s instructions too: “water-based” does not mean it is free of precautions.
Build a safer start-to-finish routine
Before opening a container or starting a dusty cut, clear the work area, set up airflow or dust collection, and put cleanup supplies within reach. Test a new technique on a small piece of the same material so you can judge how much dust or odor it produces. Use one product at a time unless its instructions explicitly allow combining materials; do not mix household cleaners or chemicals in an attempt to improve a craft finish.
If fumes or dust become difficult to control, stop the task and move to fresh air. Give the workspace time to clear before returning. Persistent or concerning symptoms warrant appropriate medical guidance, and a spill or exposure should be handled according to the product label. A craft project can wait: choosing a manageable material, workspace, and method is part of making it well.


