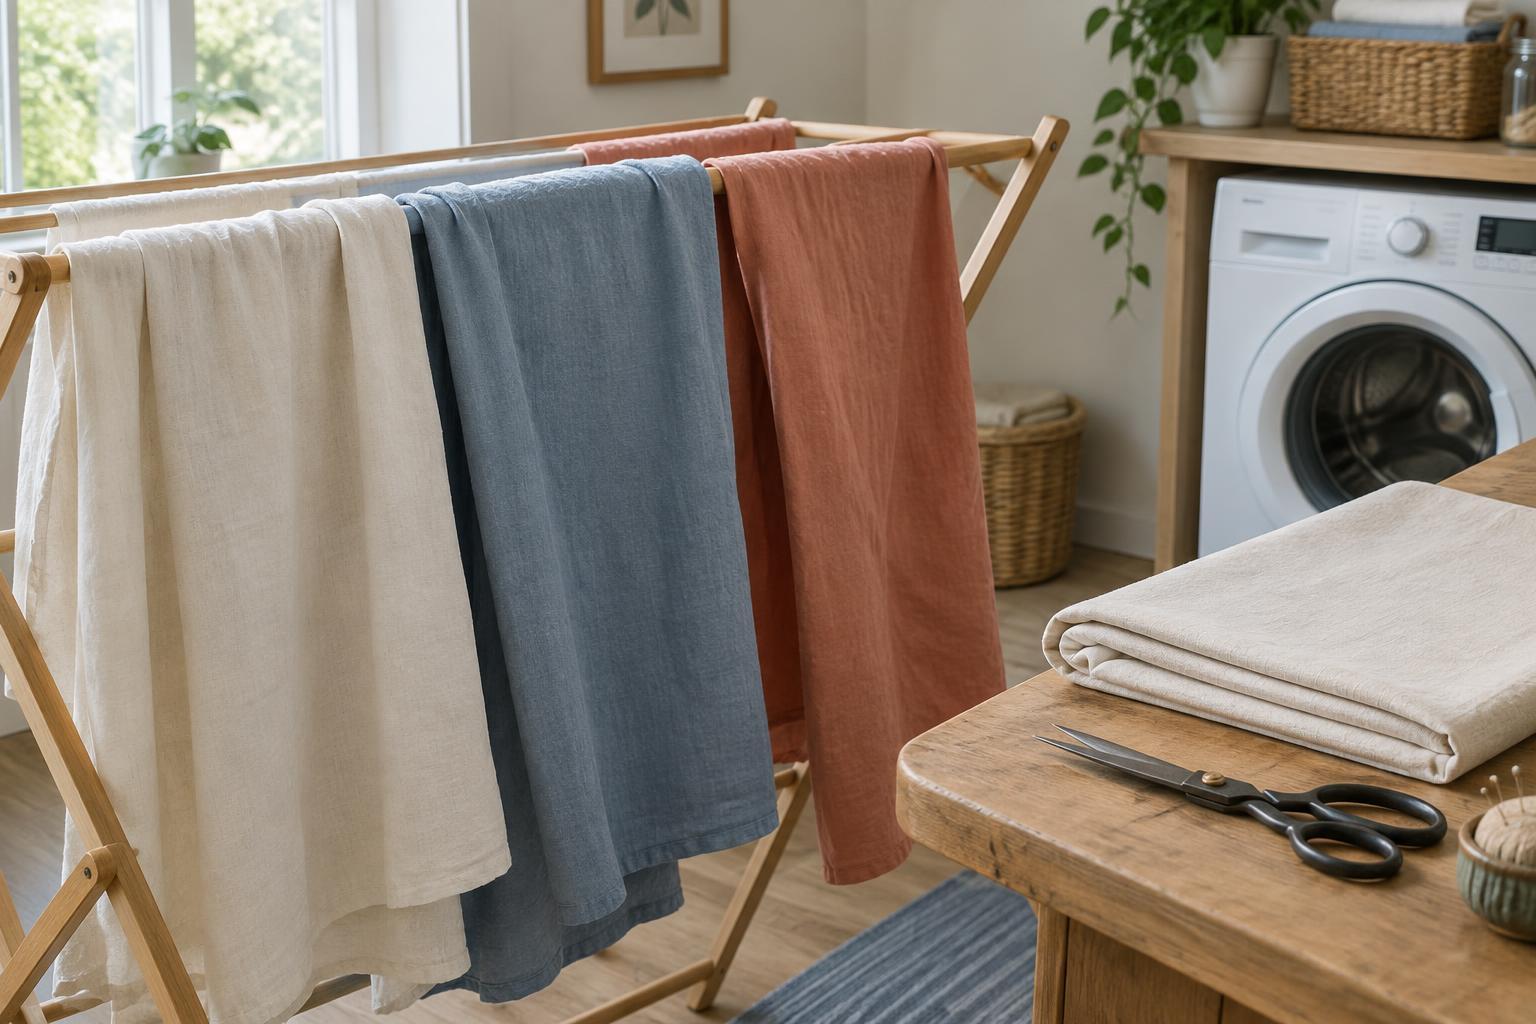
What prewashing can prevent
A piece of fabric can change after its first wash. Fibers may relax, the cloth may shrink, and excess dye or finishing agents may rinse away. If you cut and sew first, those changes can affect the finished project: a cushion cover may become too snug, a garment may fit differently, or two joined fabrics may shrink at different rates.
A useful rule is to prepare fabric the way you expect to care for the finished item. If a table runner will be machine washed and tumble dried, wash and dry the fabric before cutting. If you plan to air-dry it, air-dry the fabric during preparation. This gives you a better sense of how it will behave later, though no single wash guarantees it will never change again.
Decide what needs washing
Check the fabric’s care information first. Cotton, linen, and many everyday washable fabrics are good candidates for prewashing. Fabric intended for a project that will be washed regularly is especially worth preparing. Wash every washable component that could shrink, including lining fabric or a contrasting fabric, before you sew them together.
Not every material belongs in a washing machine. Some wool, silk, structured fabrics, and specialty finishes may call for hand washing, dry cleaning, or no washing at all. Follow the care instructions for the material and choose a compatible care routine for the finished project. If you are unsure how a fabric will respond, test a small piece using your intended method and let it dry completely before judging the result.
Tiny precut pieces can distort or fray substantially in the wash. For a project made from small precuts, consider whether you can buy and wash yardage before cutting instead. If that is not practical, use the precuts as supplied and plan the finished item’s care accordingly.
Prepare the fabric before it goes in
Unfold the fabric and inspect it for stains, flaws, or areas you want to avoid when cutting. Keep similar colors together, and wash deep or bright colors separately the first time if dye transfer is a concern. A small test can help: wet a scrap and press it between light-colored cloths. If color transfers, keep that fabric away from pale materials during washing and consider whether it is suitable for the project.
Raw woven edges may shed threads and tangle in the machine. You can protect them with a zigzag stitch, an overlock stitch, or a serger before washing. If you do not want to finish the edges, a mesh laundry bag can help contain loose threads, although it will not stop fraying entirely. Remove pins, paper labels, and anything else that should not go through the wash.
Wash, dry, and press with the project in mind
Use a suitable cycle, water temperature, and detergent for the fabric, following its care information. A gentle cycle is often sensible for loosely woven or delicate cloth; sturdier everyday fabric may tolerate a regular cycle. Avoid packing the machine so tightly that the fabric cannot move freely. If hand washing, support the wet fabric as you lift it rather than pulling on one corner.
Dry the fabric using the method you expect to use for the finished item, provided that method is safe for the material. Take it out promptly to reduce deep creases. Let it dry fully, then press it with an appropriate iron setting. Pressing means lifting and placing the iron rather than dragging it across the surface; this helps avoid stretching the fabric while you smooth it.
Lay the pressed fabric on a flat surface and check that its lengthwise edges are not being pulled out of shape. Fold it without forcing the corners to meet if that creates a twist. Straighten it gently before cutting, and use the fabric’s grain and your pattern instructions as guides. Do not cut from damp or heavily wrinkled fabric: either can make accurate measurements harder.
Common mistakes and a simple routine
The most common shortcut is washing only the main fabric while leaving a washable lining or trim untreated. Other easy mistakes include mixing a dark new fabric with a light one, using more heat than the fabric can tolerate, and cutting as soon as the dryer stops without pressing first. If a fabric frays badly, allow for that loss when buying it and protect its edges before the next wash.
For most washable projects, the routine is straightforward: check care instructions, test anything uncertain, separate colors, protect vulnerable edges, wash and dry as you will care for the finished piece, then press and straighten before cutting. That small amount of preparation makes the sewing stage easier and gives the finished project a better chance of keeping its intended shape.


