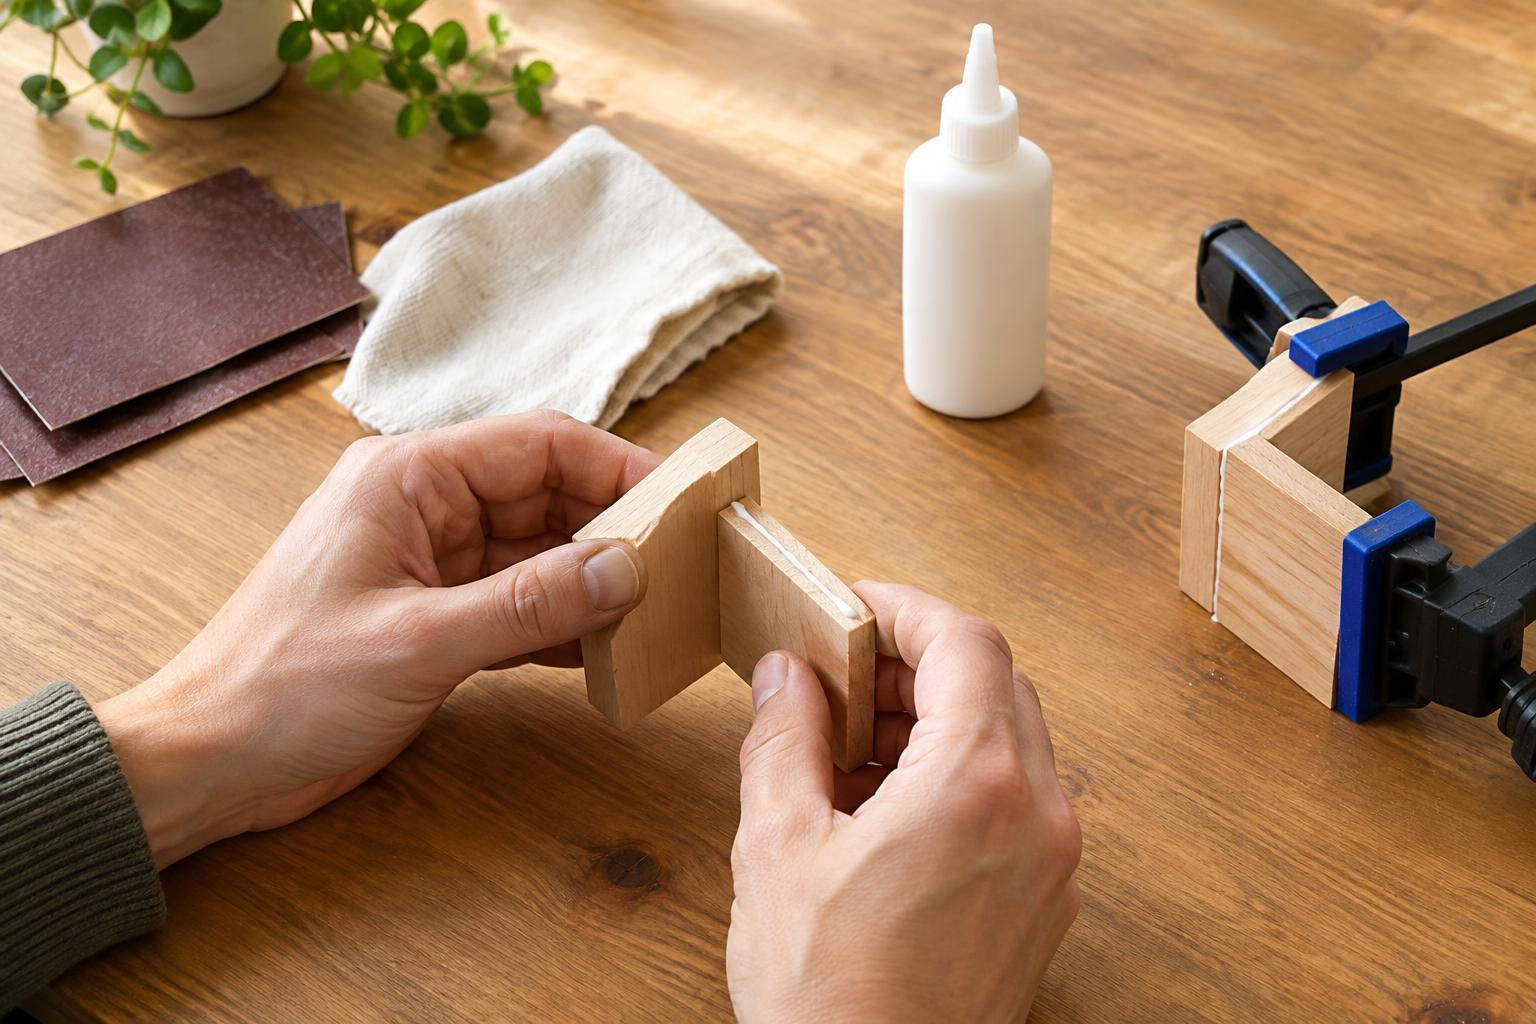
Start by identifying the weak link
When a glued project falls apart, the problem is not always the glue. The adhesive may have stuck firmly to dust rather than to the object beneath it. A thick layer may have stayed soft in the middle, or the pieces may have shifted before the bond developed. Looking at the failed joint can help: glue left on only one side suggests poor contact with the other surface, while torn paper or fabric suggests the bond may have been stronger than the material.
Before gluing a finished piece, test the same materials on scraps. Let the test dry fully, then gently pull, bend or lift it in the way the finished project will be handled. This is especially useful when combining different materials, such as fabric and painted wood, because a glue that works well on one surface may not grip the other.
Prepare surfaces for contact
Clean, dry surfaces give glue a better chance to bond. Brush paper free of loose fibers, wipe dust from wood and remove lint from fabric. For glass, metal or smooth plastic, remove grease and fingerprints with a cleaning method suitable for that material, then let the surface dry. Check any paint or finish too: if it flakes away, a strong glue can only hold the flaking layer, not the object underneath.
Fit the pieces together without glue first. Trim uneven edges and check that they meet without being forced. Some hard, glossy surfaces may benefit from light sanding to create texture, but sanding is not appropriate for every finish or delicate material. Remove sanding dust before gluing. If an item will be displayed where its back is visible, plan a neat join rather than relying on a large blob of adhesive to fill a gap.
Match the glue and the amount to the project
Different glues are designed for different materials and types of use. A glue stick can be convenient for lightweight paper; a liquid craft glue may suit porous paperboard or wood; a fabric adhesive may be more appropriate when a fabric join needs to remain flexible. For a smooth decorative object, check the product label for the specific materials you are joining. Also consider how the project will be used: a rigid bond may fail where a flexible one is needed. Follow the label’s instructions, including any ventilation or handling precautions.
More glue does not automatically make a stronger joint. On paper, excess liquid can soak in, wrinkle the sheet or leave a long-drying patch. On fabric, it can bleed through and stiffen an area meant to drape. Apply a thin, even layer where the surfaces actually meet, using a small brush or applicator if needed. Leave a little room at the edges so pressing the pieces together does not squeeze glue across the visible face.
Too little glue can be a problem as well. A few isolated dots may not support a wide area that will be lifted or flexed. Aim for consistent coverage across the intended join, following the product directions if it calls for glue on one surface or both. Press the pieces together as directed and clean up squeeze-out promptly using a method safe for the materials.
Hold the joint still while it dries
A bond needs close contact while it develops. Place a flat paper project under a suitable weight with a clean protective sheet between it and the weight. Use clips or clamps for thicker pieces, adding scrap cardboard or fabric beneath them to prevent marks. For irregular shapes, painter’s tape may help hold parts in place if a test shows it will not lift the finish. Use enough pressure to keep the surfaces touching, not so much that you squeeze out nearly all the glue.
Dry to the touch does not always mean ready to use. Some adhesives set quickly but need longer to reach their intended strength; others dry slowly because moisture must escape. Thick applications, cool conditions and nonporous surfaces can slow the process. Use the drying and curing guidance on the package rather than a single rule for every glue. Leave the project undisturbed, then handle it gently before hanging, washing or putting weight on it.
Troubleshoot before you reglue
If a joint peels away, remove loose old glue where you can do so without damaging the project. Recheck for dust, grease, weak paint or poor fit before applying fresh adhesive. If paper buckles, try less liquid glue, more even coverage and gentle, even pressure while it dries. If a seam splits when bent, consider whether the chosen glue dries too rigidly for that material.
For a project that will be handled often, glue may work best alongside a mechanical join: stitching for fabric, a folded tab for paper or a suitable fastener for a decorative piece. Test the combination on scraps first. A reliable glued project usually comes from a simple sequence: sound surfaces, a suitable adhesive, an even application and enough undisturbed time for the bond to develop.


