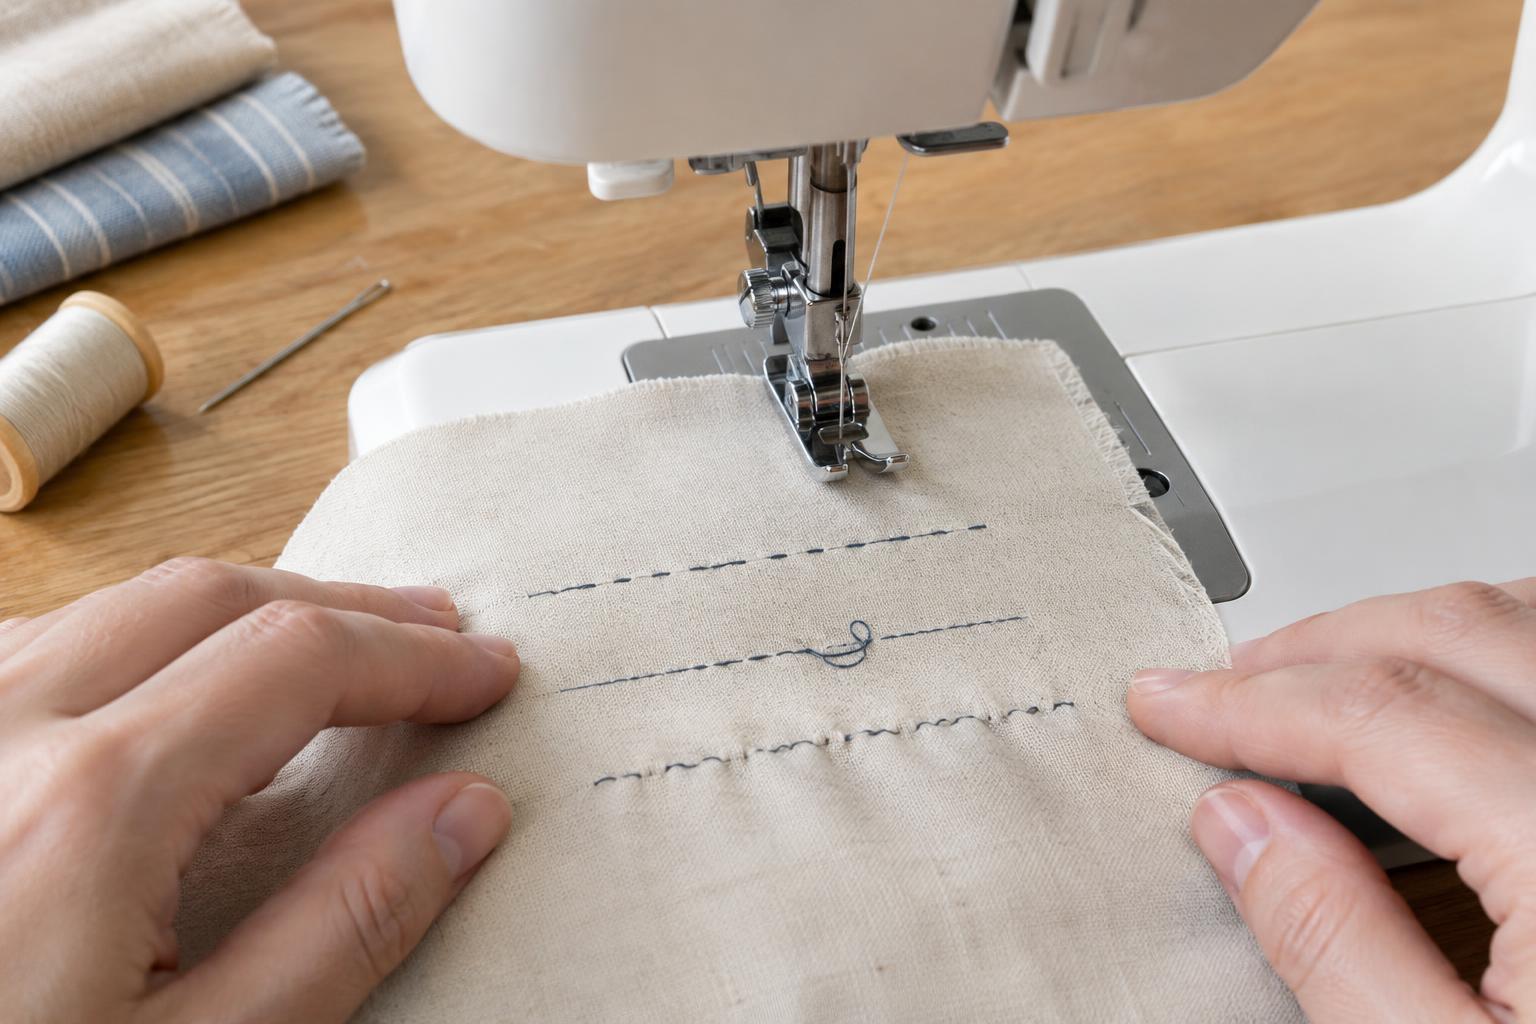
Start with a test seam, not a tension adjustment
When a seam goes wrong, pause before changing several settings at once. Cut two scraps from the same fabric as your project and layer them as you would for the real seam. Use the same thread, stitch and seam allowance. Sew a short line, then look at both sides. Note whether the machine missed stitches, left loose thread loops or drew the fabric into ripples. Each symptom points to a different set of checks.
Begin with the basics: use a sound, compatible needle; check that the presser foot is lowered before sewing; and make sure the thread and bobbin are correctly installed. With the machine switched off, remove any visible lint around the bobbin area using a small brush, following your machine’s cleaning instructions. If the machine has recently started making unusual noises or striking the needle plate, stop sewing rather than forcing the fabric through.
Skipped stitches: check the needle and fabric first
A skipped stitch leaves a gap where the needle passed through the fabric but the machine did not form a complete stitch. A bent, blunt or incorrectly installed needle is a common place to start. Replace it with a fresh needle, insert it fully in the direction specified by your machine’s manual, and tighten the needle clamp. A needle can be damaged without looking obviously bent.
Match the needle to the material. A universal needle often works for ordinary woven cotton, while many knits sew more reliably with a ballpoint or stretch needle. Dense or thick fabric may need a sturdier needle; delicate fabric may need a finer one. Choose a size appropriate to the fabric and thread, then test it on a scrap. If stitches skip only where several seams meet, slow down and keep the layers level as they pass under the foot. Avoid pulling the fabric from behind, which can deflect the needle.
If a new needle does not help, rethread the machine from the beginning and confirm that the bobbin is seated as directed in the manual. Persistent skipping across different fabrics and needles may indicate a machine issue that needs servicing.
Thread loops: rethread before changing tension
Loose loops usually mean the threads are not being controlled or meeting as intended. First raise the presser foot and rethread the upper thread, making sure it follows every guide and passes through the take-up lever. Raising the foot typically releases the tension discs so the thread can seat between them. Then check that the bobbin is wound evenly, placed in the correct direction and guided through its intended path.
Sew another test line with the presser foot down. If loops remain, compare the top and underside of the fabric. Loops underneath often call for a closer look at the upper-thread path; loops on top may point toward bobbin threading or a tension imbalance. These are clues, not guarantees. Consult the machine manual before adjusting bobbin tension, which many machines rarely need changed.
After confirming the threading, try a small change to the upper-tension setting and sew a new test seam. Change only one setting at a time so you can tell what helped. Check, too, that the needle and bobbin thread are suitable for the fabric and that the thread is unwinding freely rather than catching on the spool.
Puckered seams: help the fabric feed evenly
Puckering looks like little ridges along the seam. It can happen when thread tension is too high, a stitch is unsuitable for the fabric, or the layers shift or stretch as they feed. Begin by testing a fresh needle and a slightly longer stitch on a woven scrap. If the seam still draws up, try a small reduction in upper tension and compare the result. A seam that looks wavy only after sewing a knit may instead have stretched while passing under the foot.
Let the feed dogs move the fabric rather than pushing or tugging it. Support the project’s weight on the table so it does not drag behind the machine. If your machine allows presser-foot pressure adjustments, a lighter setting may help stretchy or delicate fabric feed without distortion. A walking foot can also help layers travel together. For particularly light or unstable material, test a suitable stabilizer on a scrap and remove or finish it according to its instructions.
Press a finished test seam gently using a heat setting appropriate for the fabric. Pressing can settle minor ripples, but it will not correct a seam that has been stretched or stitched with unsuitable settings.
Keep a simple troubleshooting routine
Work from easy, reversible checks toward adjustments: replace the needle, rethread both paths, clear lint, then test stitch length, tension or foot pressure one change at a time. Keep a small labeled sample of any combination that works well for a fabric you use often. That record is more useful than trying to remember a single “perfect” setting, because layers, thread and fabric behavior can change from project to project.
Once the test seam looks even on both sides and lies comfortably flat, return to the project. If problems continue after these checks, especially across several fabrics, use the machine manual’s troubleshooting guidance or seek qualified servicing rather than repeatedly turning adjustment screws.


