Choose the Paper and Plan the Fold
A clean fold makes a handmade card close properly, helps a paper box hold its shape and gives layered projects a tidy finish. Thin paper often folds easily by hand, but heavier cardstock may buckle or crack if you force it into a sharp crease. Scoring creates a controlled line where the paper can bend. Before you start, decide exactly where the fold belongs and which side of the finished piece will face outward.
Paper can fold more readily in one direction than another because of the way its fibers are arranged. If a sheet resists a fold or develops a rough edge, try folding a small offcut in the other direction before cutting all your pieces. Test textured, coated or printed cardstock too: a surface that looks smooth while flat may show cracks when bent. A trial fold is especially worthwhile when every piece needs to match.
Set Up a Simple Scoring Station
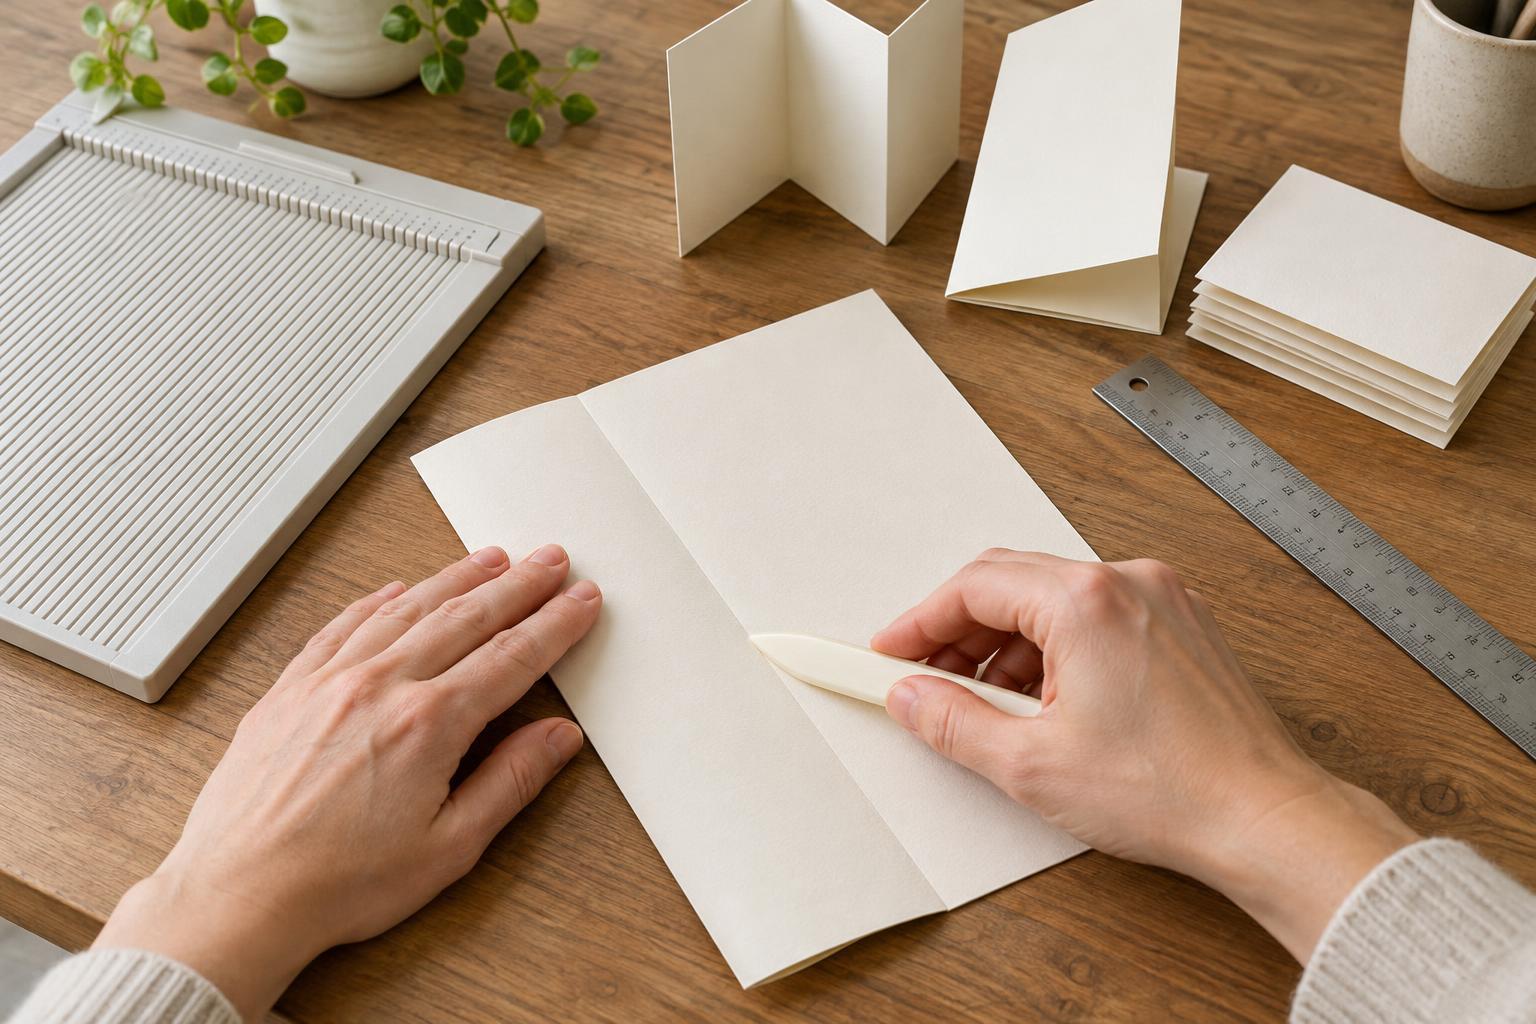
You can score paper with a scoring board and stylus, or with a ruler, cutting mat and a blunt-tipped tool. A bone folder is useful for pressing a crease after folding; its broad, smooth edge distributes pressure more evenly than a fingernail. If you use a ruler, choose one that stays firmly in place, and check that your tool will not slip beneath its edge. Avoid using the sharp side of a craft knife: the aim is to indent the paper, not cut through it.
Mark the fold position lightly at both ends, then align the marks with a scoring-board groove or the edge of your ruler. Keep the paper flat while you make one steady pass. A light score is usually safer than pressing hard immediately; add another pass if the line is not clear enough. Excess pressure can tear thin paper or leave a visible groove on the finished surface. On a mat, place a piece of scrap paper underneath if the mat’s texture might mark your work.
Fold on the Line and Burnish with Control
After scoring, bring the edges together gradually rather than pinching one end into a sharp point. Check that the corners align before setting the crease. Once the fold is positioned, run a bone folder along it with moderate, even pressure. Work from the middle toward each end so the paper stays in place. A clean bone folder or other smooth folding tool is important: dried glue or a rough edge can leave scratches, particularly on dark or coated paper.
For a card, close the folded sheet and compare the front and back edges. For a box, fold each scored line separately before assembly so the panels move where intended. Do not repeatedly bend a finished crease back and forth; this can weaken the fibers and make the edge look worn. If the surface starts to crack, stop pressing harder. Try a lighter score, a different fold direction or another paper on the next piece.
Keep Repeated Folds Consistent
When making several cards, pockets or boxes, cut and score one complete sample before preparing the rest. Check whether it folds to the intended size and whether any tabs interfere with adjoining panels. Then use the same reference edge for every measurement. Turning pieces around between scores can introduce small differences, even when each individual mark seems correct. Keep a finished sample nearby as a visual check while you work.
If a fold lands slightly off the intended line, avoid forcing it into position after burnishing. For a single decorative piece, you may be able to trim an edge or adjust an overlapping panel. For parts that must fit together, making a replacement is often cleaner than trying to disguise a crooked crease. Take a moment to wipe the folding tool and clear scraps from the work surface before continuing. Consistent alignment, light scoring and patient folding do more for a polished result than extra force.